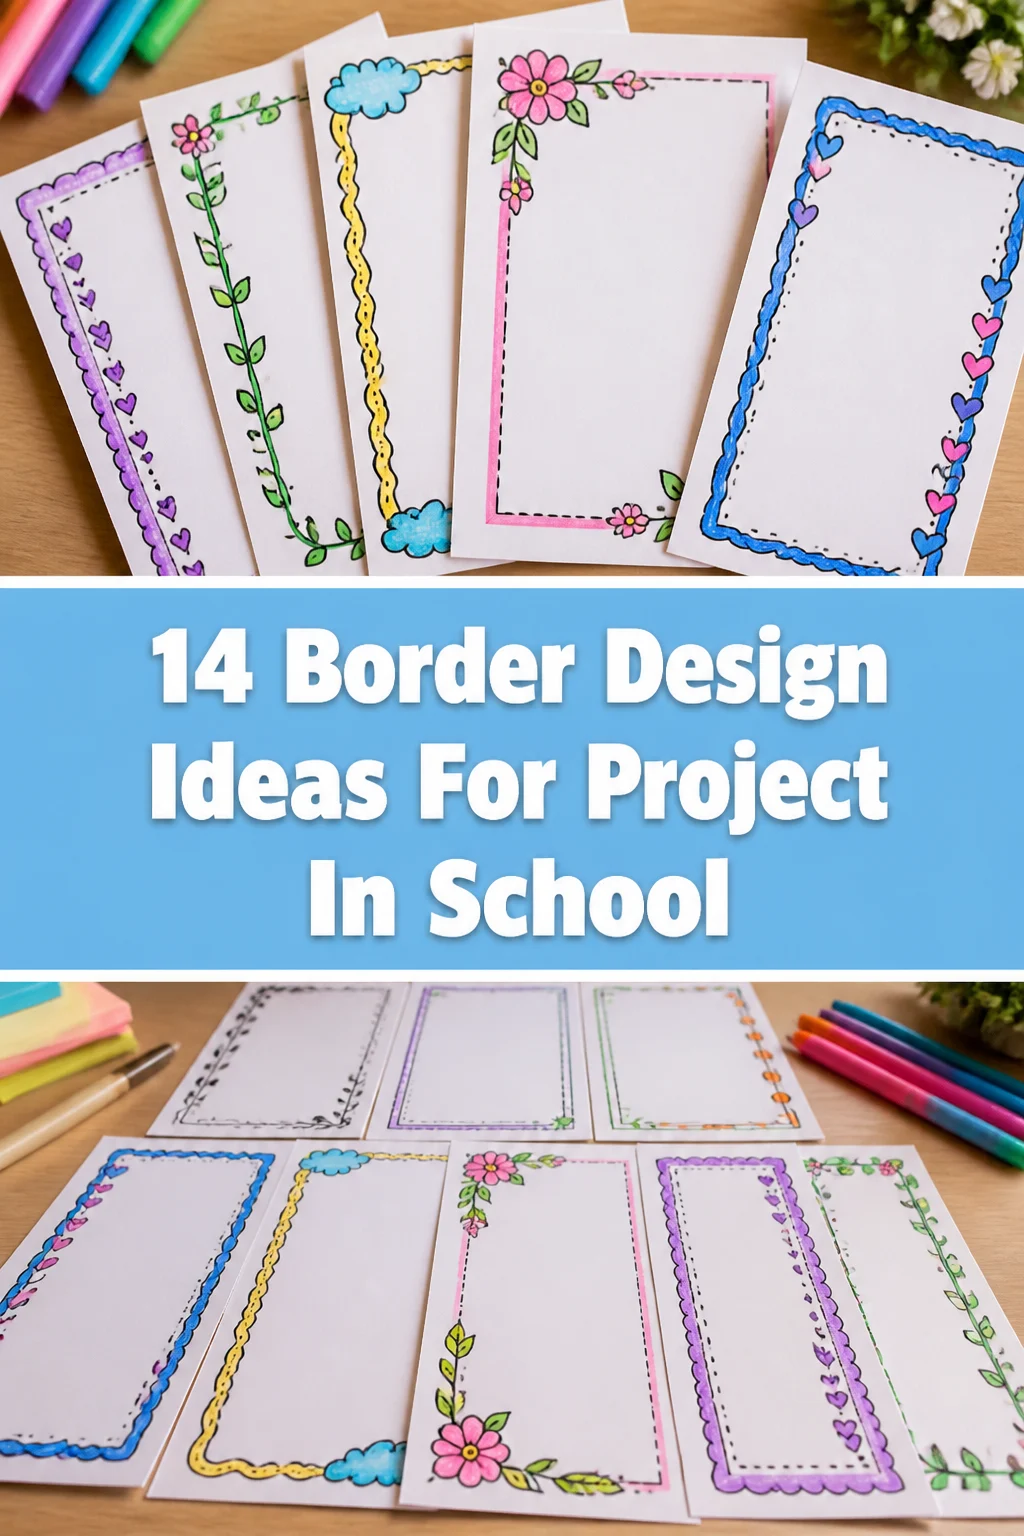
🎨 14 Border Design Ideas For Project In School
Staring at a blank project board, feeling that creative block hit harder than a Monday morning alarm?
Your brilliant ideas deserve more than just a plain white edge, right?
Fear not, my friend, because I’ve got the lowdown on 14 super cool border designs that will make your school project pop and probably earn you some serious style points.

1. Washi Tape Wonderland
- Best For: Quick fixes, adding instant personality.
- Vibe: Playful, organized chaos.
- Why it works: Easy to apply, comes in endless patterns.
Got a bunch of those adorable washi tapes lying around? Time to put them to work! Layer different patterns and widths along your project’s edge for a super easy, yet visually stunning border.
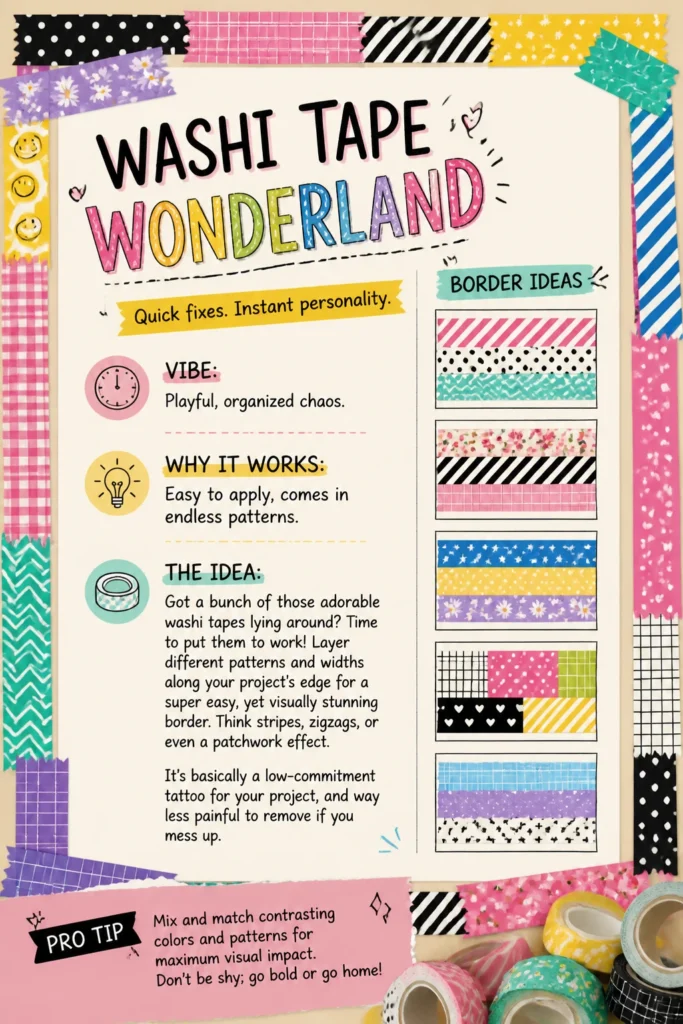
Think stripes, zigzags, or even a patchwork effect. It’s basically a low-commitment tattoo for your project, and way less painful to remove if you mess up.
Pro Tip: Mix and match contrasting colors and patterns for maximum visual impact. Don’t be shy; go bold or go home!
2. Geometric Glam
- Best For: Math projects, design class, modern aesthetics.
- Vibe: Sleek, structured, intelligent.
- Why it works: Creates a clean, sophisticated look with simple shapes.
Grab your ruler and a few colored pens or markers. Draw a repeating pattern of triangles, squares, or hexagons around the edge.
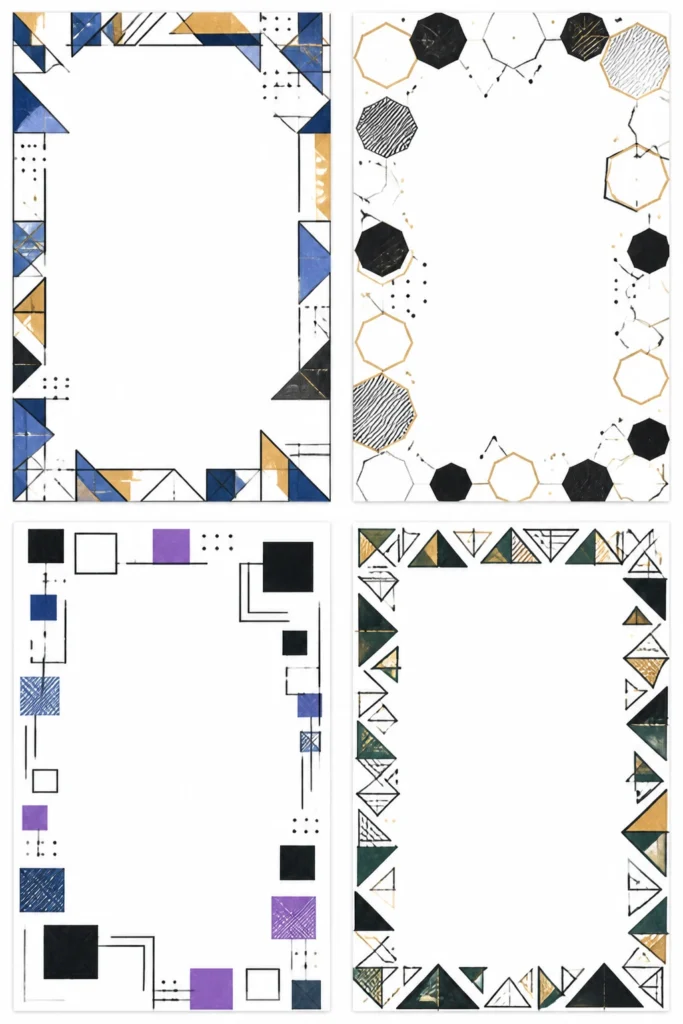
You can fill them in with solid colors, hatch marks, or leave them as outlines. This border screams “I’m smart and I know it” without actually saying anything, which is pretty cool.
Pro Tip: Use a stencil for perfectly uniform shapes, or embrace the hand-drawn imperfect charm for a more artistic touch.
3. Nature’s Embrace
- Best For: Biology projects, environmental studies, earthy themes.
- Vibe: Organic, peaceful, educational.
- Why it works: Brings a touch of the outdoors in, using accessible materials.
Collect some small, pressed leaves, tiny twigs, or dried flowers. Carefully glue them along the border of your project.
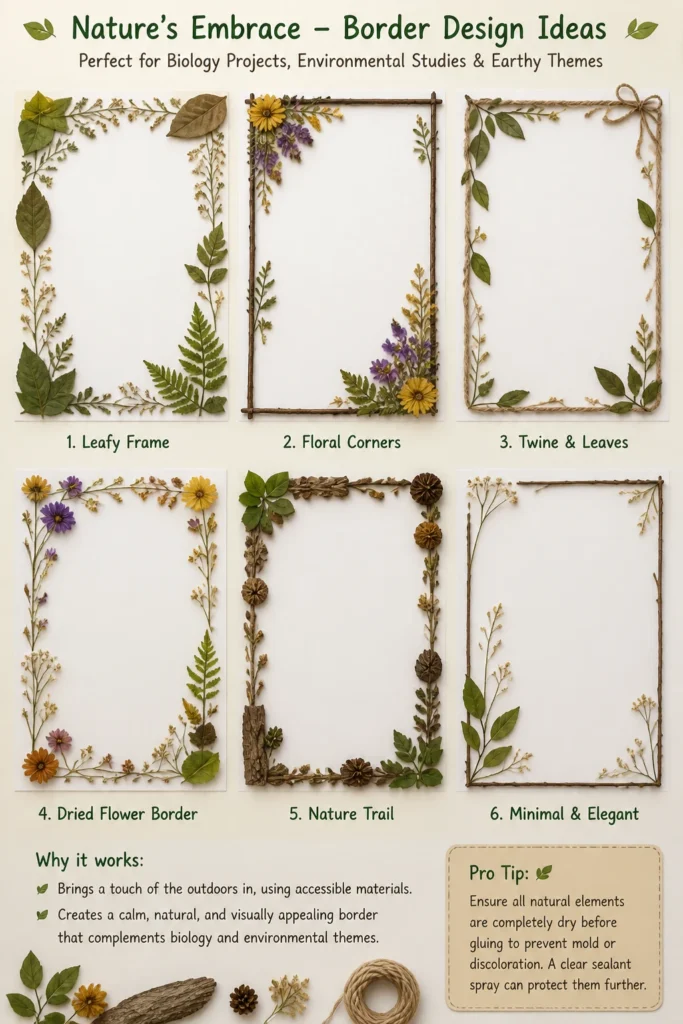
A thin line of twine or raffia can also add to this rustic charm. It’s like your project took a walk in the park and came back looking fabulous.
Pro Tip: Ensure all natural elements are completely dry before gluing to prevent mold or discoloration. A clear sealant spray can protect them further.
4. Comic Strip Cool
- Best For: English literature, history, creative writing.
- Vibe: Fun, dynamic, narrative.
- Why it works: Instantly adds a story element and visual interest.
Find old comic books or print out panels from your favorite webcomics. Cut out individual frames or speech bubbles and arrange them as a border.
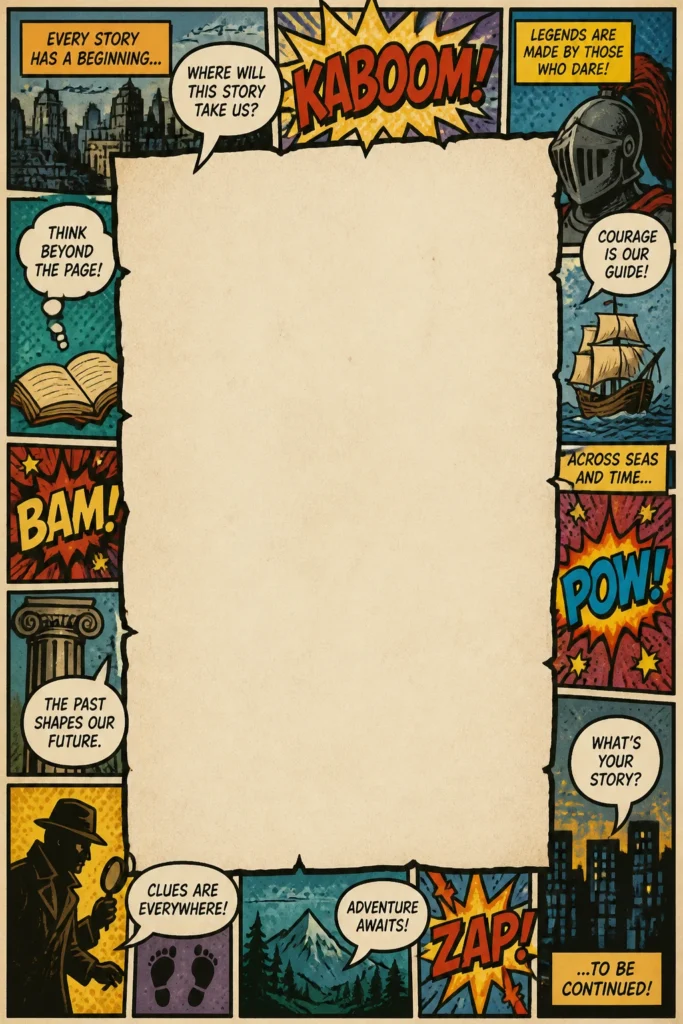
You can even draw your own mini-comics related to your project’s theme. Who knew homework could be this exciting?
Pro Tip: Stick to a consistent color palette or theme within your comic selections to keep the border looking cohesive, not chaotic.
5. Gradient Glory
- Best For: Art projects, science displays (e.g., light spectrum), dramatic effects.
- Vibe: Smooth, sophisticated, artistic.
- Why it works: Creates a seamless, eye-catching transition of color.
Using watercolor paints, colored pencils, or even spray paint (with proper ventilation, obviously), create a smooth color transition around your project’s edge.
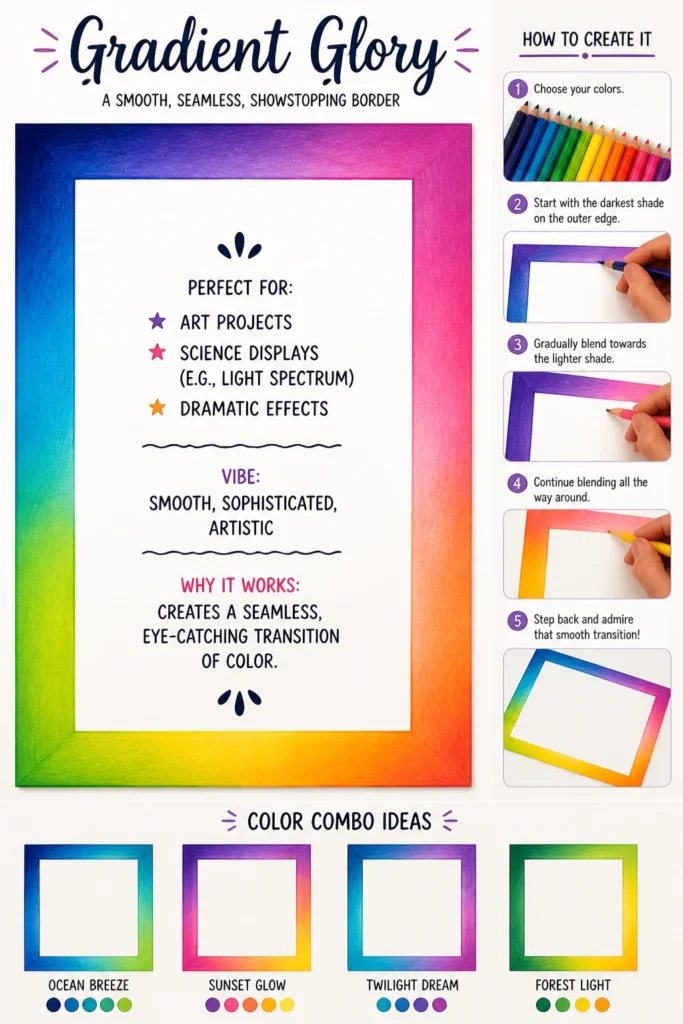
Start with a dark shade and gradually lighten it, or blend two complementary colors. It’s subtle, but trust me, it’s a total showstopper.
Pro Tip: Practice your blending technique on a scrap piece of paper first to get that perfectly smooth transition before tackling the actual project.
6. Sticker Bomb Blitz
- Best For: Personal expression, quick decoration, any subject.
- Vibe: Energetic, youthful, eclectic.
- Why it works: Super easy, highly customizable, and instantly fun.
Raid your sticker collection! Overlap various stickers of different shapes, sizes, and themes along the border.
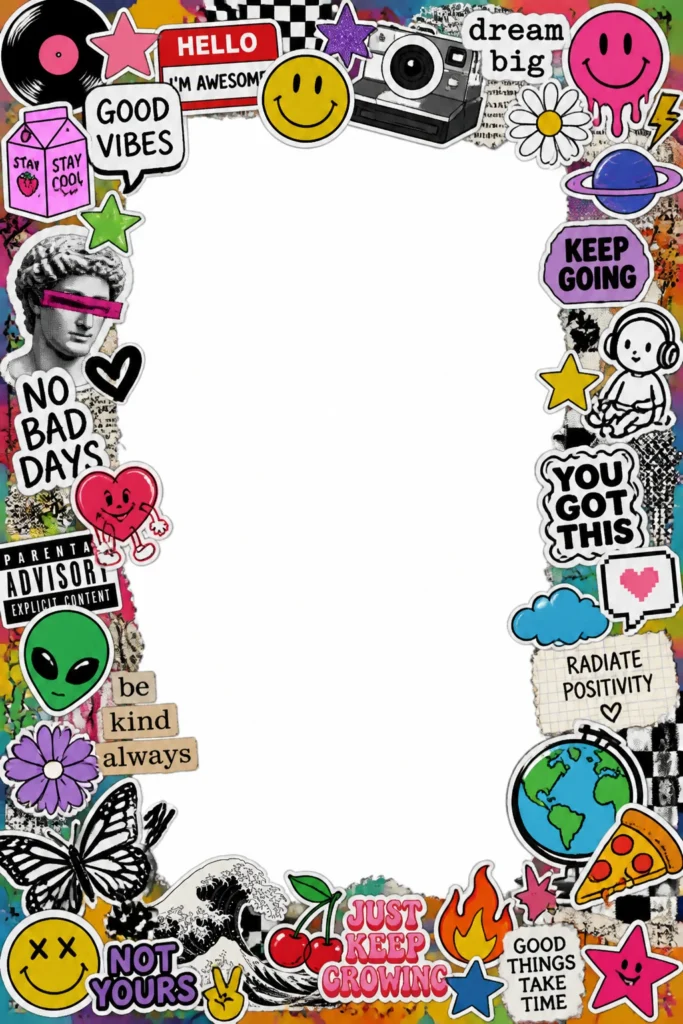
Don’t be afraid to let them spill over a bit. This border is all about maximalism and showing off your personality. It’s basically a visual mixtape of your aesthetic.
Pro Tip: Use stickers that relate to your project’s topic for an extra layer of cleverness, or just go wild with your favorites. There are no rules here, only vibes.
7. Newspaper Nifty
- Best For: History projects, current events, sustainable art.
- Vibe: Vintage, intellectual, eco-conscious.
- Why it works: Inexpensive, readily available, and adds texture.
Tear strips of old newspapers or magazine pages. You can crumple them slightly for texture or keep them flat.
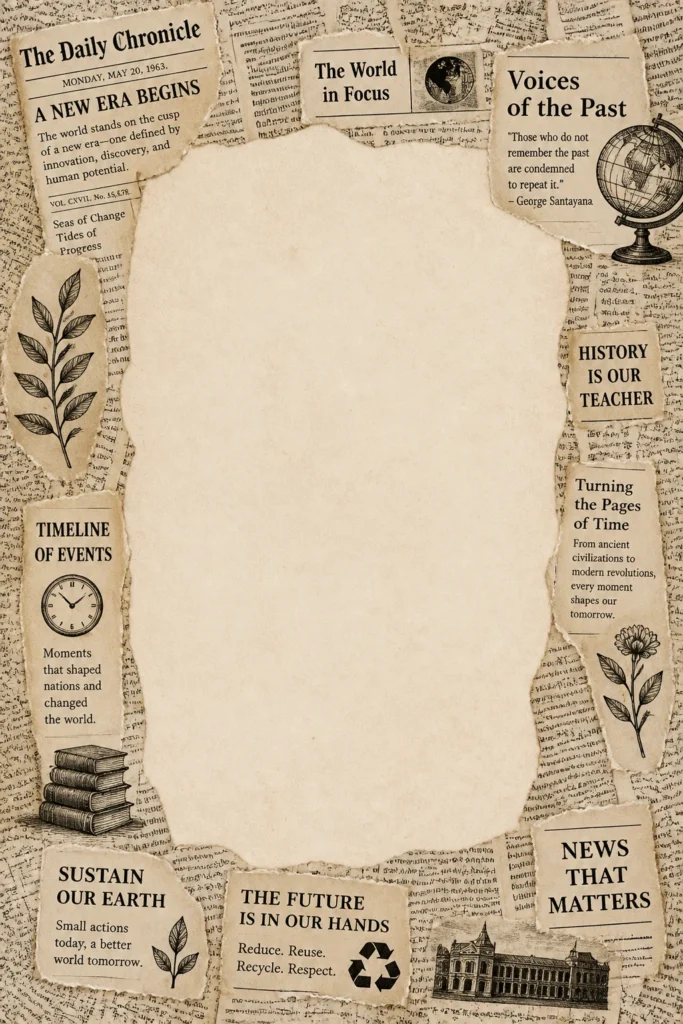
Glue them down, overlapping slightly, for a cool, monochromatic border. It’s surprisingly chic, especially if you stick to black and white print.
Pro Tip: For an aged look, lightly brush the newspaper strips with diluted coffee or tea before gluing them down. Just make sure they’re completely dry!
8. Yarn Art Yarn-tastic
- Best For: Textile arts, sensory projects, adding warmth.
- Vibe: Cozy, handmade, tactile.
- Why it works: Adds unique texture and a pop of soft color.
Wrap different colors of yarn or string around the edge of your project board. Secure them with a dab of glue on the back.
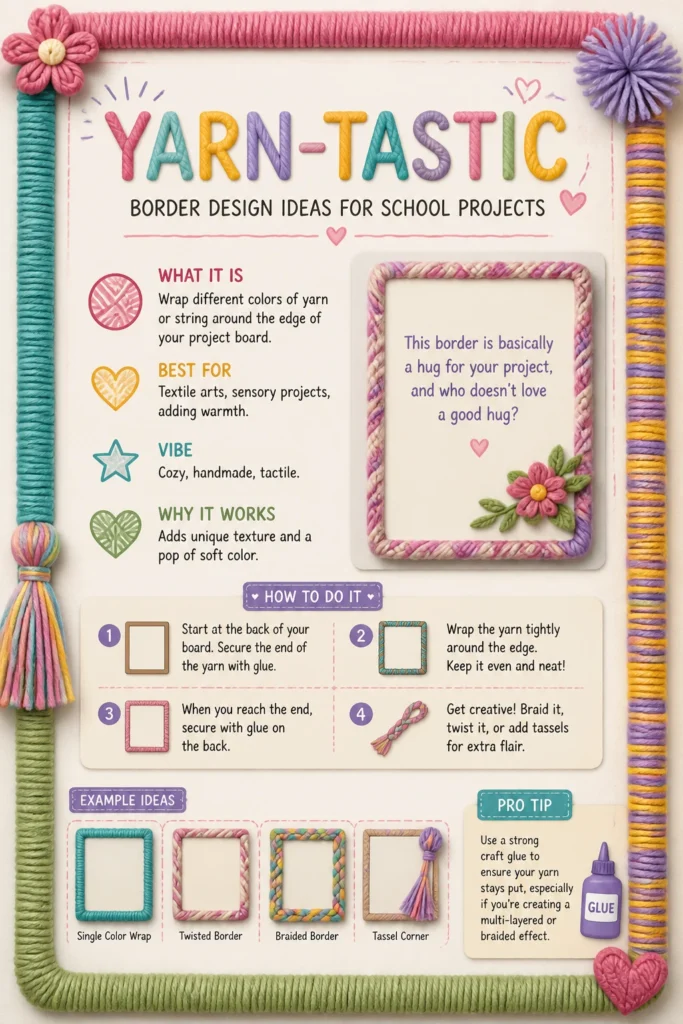
You can braid them, twist them, or create small tassels. This border is basically a hug for your project, and who doesn’t love a good hug?
Pro Tip: Use a strong craft glue to ensure your yarn stays put, especially if you’re creating a multi-layered or braided effect.
9. Button Bonanza
- Best For: Craft projects, fashion design, adding dimension.
- Vibe: Whimsical, quirky, crafty.
- Why it works: Adds fantastic 3D texture and visual interest.
Gather all those spare buttons you’ve collected. Arrange them in a pattern or randomly along the border of your project.
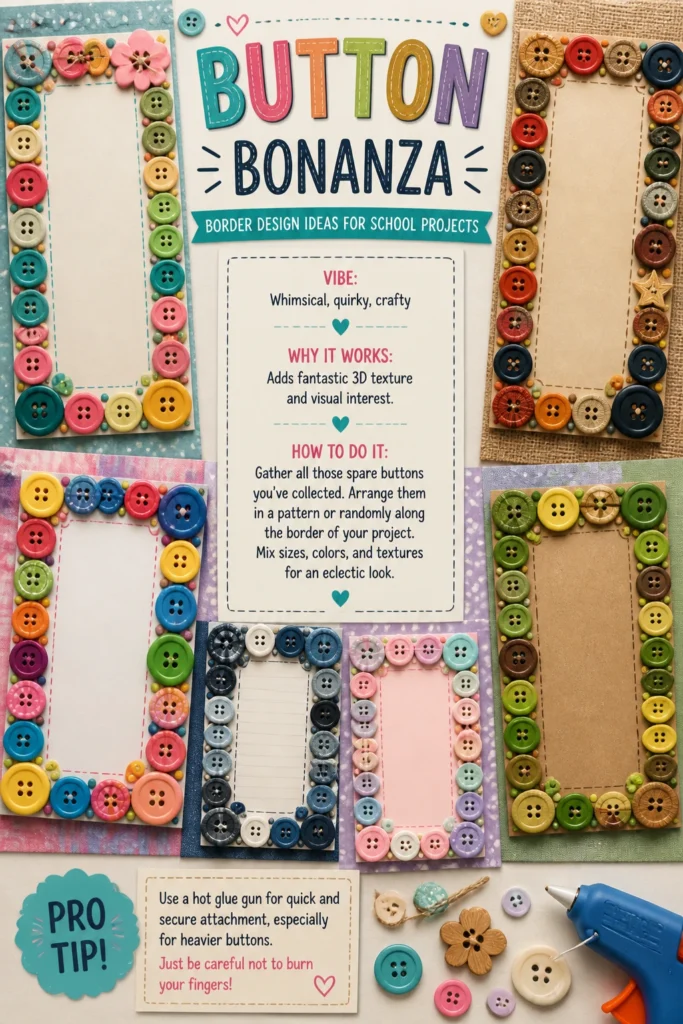
Mix sizes, colors, and textures for an eclectic look. It’s a little bit retro, a little bit modern, and totally charming.
Pro Tip: Use a hot glue gun for quick and secure attachment, especially for heavier buttons. Just be careful not to burn your fingers!
10. Paint Chip Perfection
- Best For: Color theory, design, budget-friendly decor.
- Vibe: Modern, organized, color-focused.
- Why it works: Offers a wide range of colors for free, creates a clean look.
Head to your local hardware store (don’t be shy, they’re free!) and grab some paint chips in coordinating or contrasting colors.

Cut them into squares or rectangles and glue them side-by-side. It’s surprisingly chic and a total hack for a polished, colorful border.
Pro Tip: Choose paint chips with a gradient of shades for a subtle ombré effect, or pick bold, clashing colors for a punchy statement.
11. Doodle Delight
- Best For: Creative expression, personal touch, all subjects.
- Vibe: Playful, artistic, unique.
- Why it works: Fully customizable and allows for endless creativity.
Grab your favorite markers or pens and just start doodling! Create a continuous pattern of swirls, stars, abstract shapes, or tiny characters.
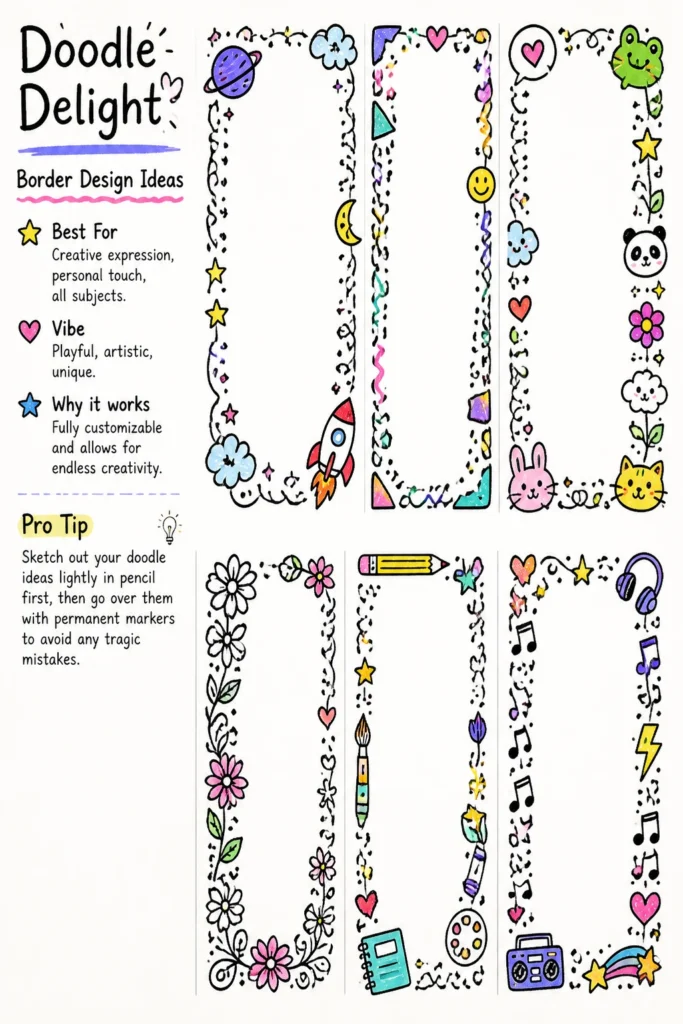
This border is all about letting your imagination run wild. It’s your project, so make it look like you made it.
Pro Tip: Sketch out your doodle ideas lightly in pencil first, then go over them with permanent markers to avoid any tragic mistakes.
12. Fabric Fringe Fiesta
- Best For: Fashion projects, home economics, adding softness.
- Vibe: Bohemian, cozy, textured.
- Why it works: Adds a soft, tactile, and visually appealing edge.
Cut strips of fabric (denim, cotton, felt work great) and fray the edges to create a fringe effect.
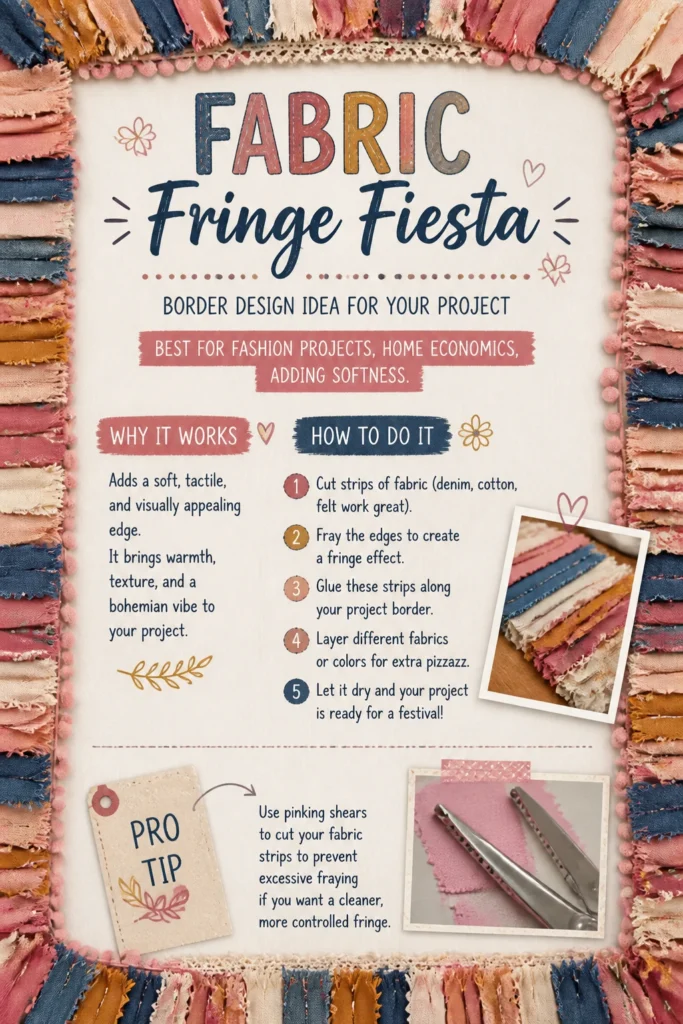
Glue these strips along your project border. You can layer different fabrics or colors for extra pizzazz. It’s like your project is ready for a festival.
Pro Tip: Use pinking shears to cut your fabric strips to prevent excessive fraying if you want a cleaner, more controlled fringe.
13. Chalkboard Chic
- Best For: Informational displays, temporary notes, rustic themes.
- Vibe: Rustic, educational, vintage.
- Why it works: Allows for changeable elements and a classic, clean look.
Apply strips of chalkboard contact paper around your project’s edge. Now you have a border you can actually write on!
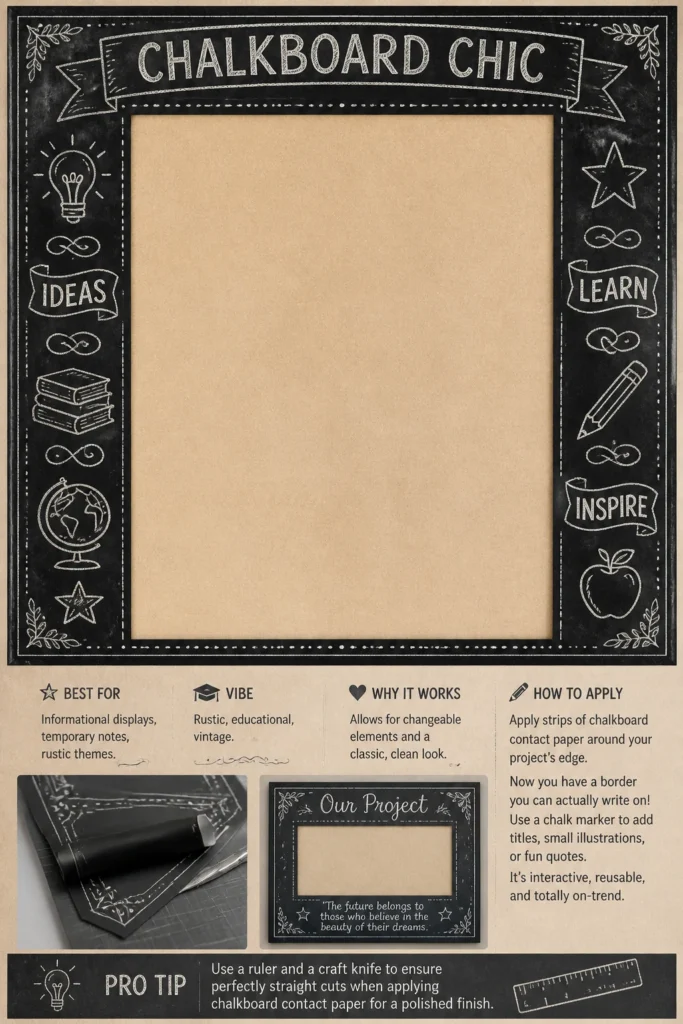
Use a chalk marker to add titles, small illustrations, or fun quotes. It’s interactive, reusable, and totally on-trend.
Pro Tip: Use a ruler and a craft knife to ensure perfectly straight cuts when applying chalkboard contact paper for a polished finish.
14. Paper Quilling Quirk
- Best For: Art class, intricate designs, adding delicate texture.
- Vibe: Elegant, intricate, artisanal.
- Why it works: Creates beautiful, delicate 3D designs from simple paper strips.
Grab some quilling paper strips and a quilling tool. Roll the strips into various shapes like coils, teardrops, or marquises.
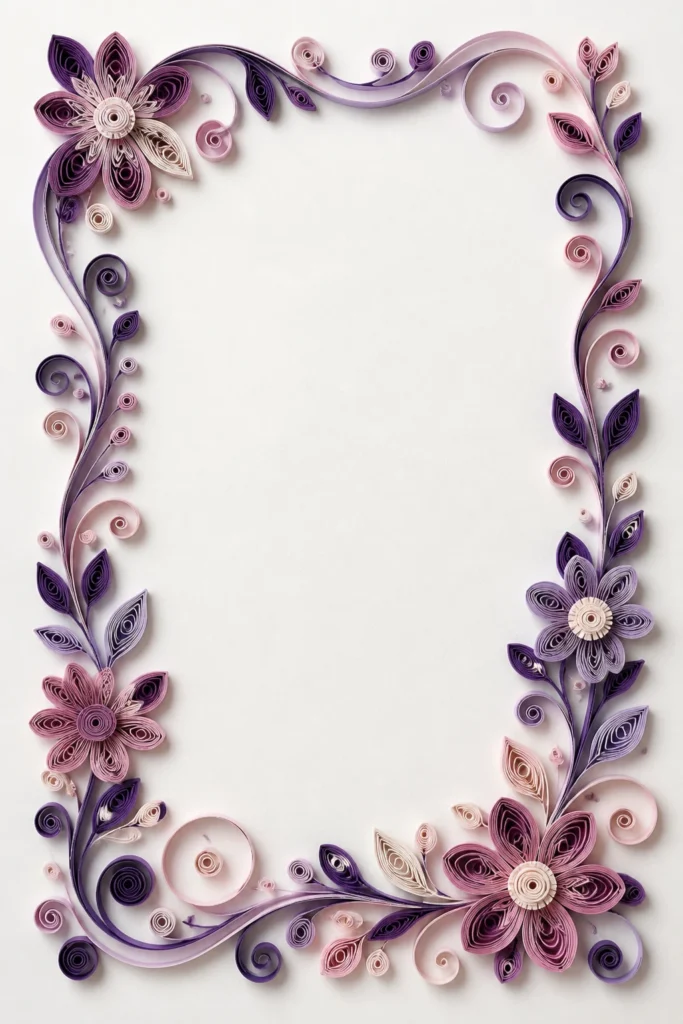
Glue these delicate paper creations along your border for a truly unique and intricate design. It takes a little patience, but the result is stunning.
Pro Tip: Start with simpler shapes like tight coils or loose circles if you’re new to quilling, then gradually build up to more complex designs.
Our Top Recommended Finds
So, you’re ready to get your border game on point? Here are a few things that’ll make your life easier and your projects prettier:
- A good quality craft glue stick or liquid adhesive: Seriously, nothing is worse than a border that decides to ditch your project halfway through the presentation. Keep those elements locked down!
- Assorted colored paper or cardstock pack: This is your secret weapon for endless border possibilities, from quilling to paper fringe. A rainbow at your fingertips is never a bad idea.
- Fine-tip permanent markers: For all those doodle dreams, precise geometric lines, or adding tiny details to any border, a trusty set of markers is non-negotiable.
Which of these will you try first?
There you have it! No more staring blankly at your project board, wondering how to make it less… well, boring. With these border ideas, you’re officially ready to turn any school assignment into a masterpiece.
So, which genius border idea are you totally going to rock first? Spill the beans in the comments; I’m genuinely curious!