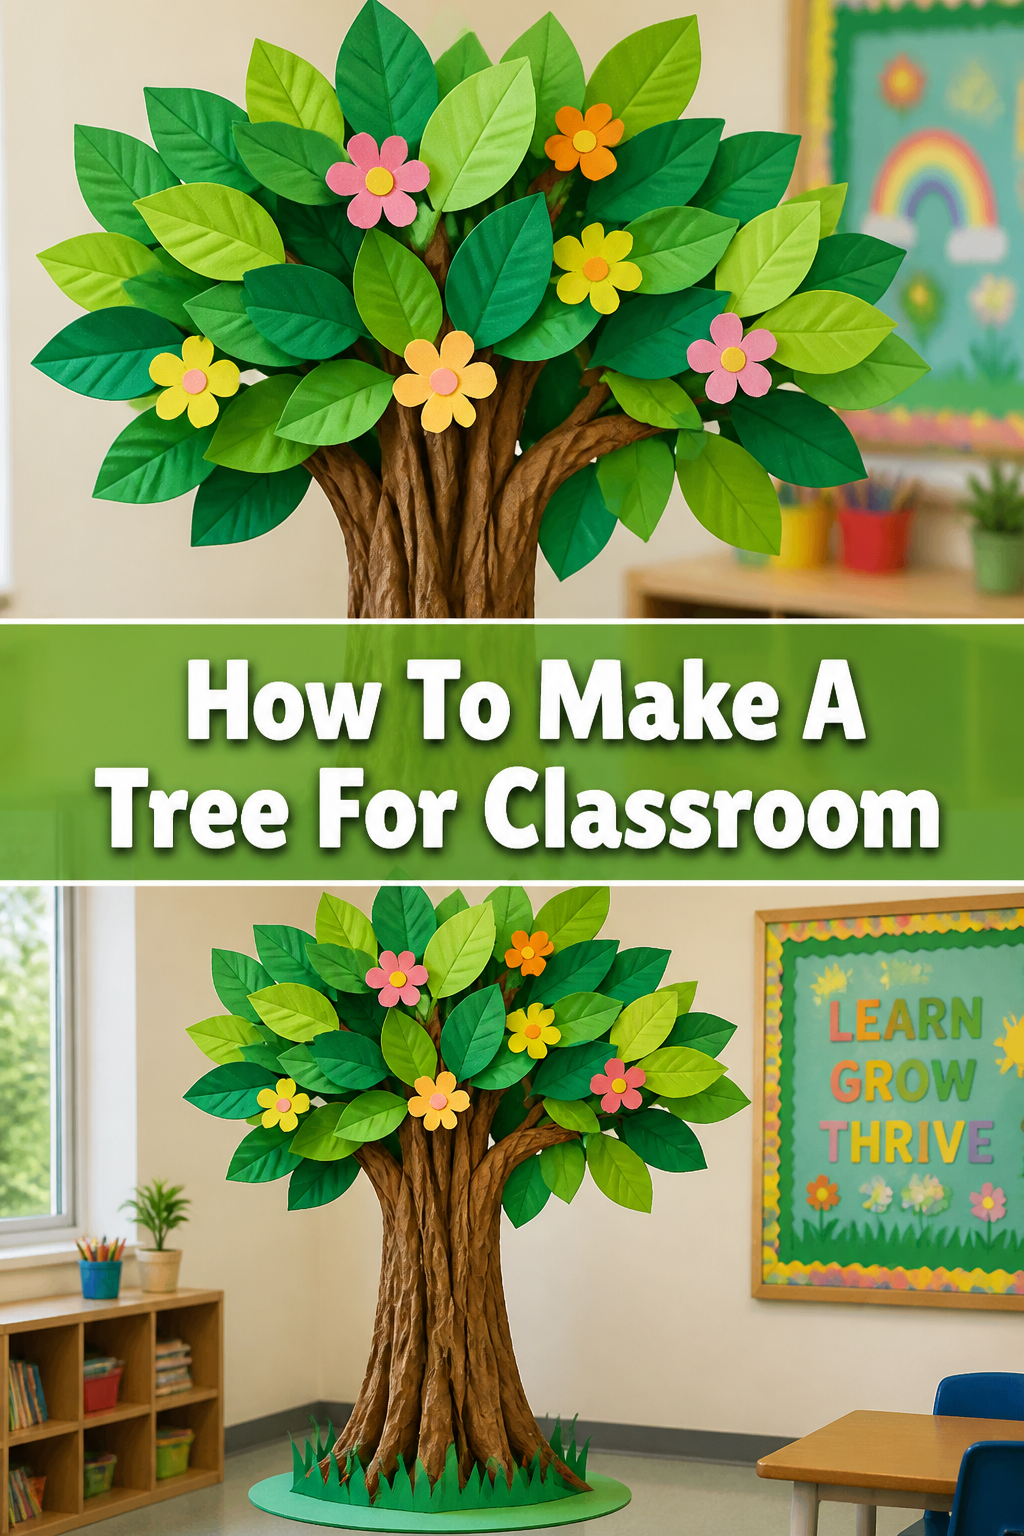
🌳 How To Make A Tree For Classroom
Imagine a vibrant focal point transforming your classroom into an enchanting learning space.
A handmade tree offers endless opportunities for creativity, engagement, and educational displays.
Having crafted several such trees for various school projects, I can guide you through making a sturdy, beautiful, and interactive centerpiece.

Quick Overview
This guide will help you construct a magnificent classroom tree, perfect for decorating, displaying student work, or celebrating seasons.
You’ll learn practical techniques to ensure your tree is both visually appealing and durable.
- Time needed: 4-8 hours (including drying times)
- Difficulty: Beginner
- What you’ll need: Cardboard, paper, paint, glue, scissors, and a dash of imagination.
Step-by-Step Instructions
Step 1: Gather Your Materials
Before you begin, collect all necessary supplies to ensure a smooth crafting process.

Having everything at hand prevents interruptions and keeps your creative flow going.
- Large Cardboard Boxes: Appliance boxes or moving boxes are ideal for the trunk and main branches.
- Brown Craft Paper or Butcher Paper: This will cover the cardboard, providing texture and a uniform color.
- Green Construction Paper or Felt: For crafting the leaves and canopy elements.
- Paints: Brown for the trunk and branches, various greens for leaves. Tempera or acrylic paints work well.
- Adhesives: Hot glue gun with plenty of glue sticks, strong craft glue, or masking tape.
- Cutting Tools: Utility knife (adult supervision required), strong scissors, pencil, ruler.
- Optional Decorations: Fairy lights, seasonal ornaments, fabric scraps, natural elements like twigs.
Step 2: Design Your Tree Structure
Visualize the size and shape of your tree within your classroom space.

Consider the height and width to ensure it fits comfortably without obstructing pathways or views.
Sketch a basic design on paper, outlining the trunk’s thickness and the main branches’ spread.
Pro Tip: Think about the tree’s purpose. Will it hold lightweight decorations, or do you need sturdier branches for heavier items? This influences your cardboard choices.
Step 3: Cut Out the Trunk and Main Branches
Lay your large cardboard boxes flat and carefully draw the outline of your tree trunk.

Aim for two identical trunk shapes if you plan a 3D, freestanding structure.
Sketch out several large branch shapes, ensuring they have tabs or flaps for easy attachment later.
Carefully cut out these cardboard pieces using a utility knife or strong scissors.
Always cut on a protected surface and exercise caution with sharp tools.
Step 4: Assemble the Base
A stable base is crucial for your tree’s longevity and safety.

If making a 3D tree, cut two slots halfway into the center of each trunk piece, one from the top down, one from the bottom up.
Slide these two pieces together to form an interlocking “X” shape, creating a sturdy base.
For a flatter, wall-mounted tree, you can skip this step and directly attach a flat trunk piece to a wall or large display board.
Use hot glue or strong tape to reinforce any joints at the base.
Step 5: Add Dimension to the Trunk
Once your basic trunk structure is assembled, begin adding volume and texture.

Crumple and shape brown craft paper around the cardboard trunk and branches.
Secure the paper with masking tape or dabs of hot glue, creating a bark-like texture.
Ensure the paper covers all exposed cardboard for a seamless, natural look.
This step makes the tree look more realistic and less like a simple cardboard cutout.
Pro Tip: For extra texture, tear strips of brown paper instead of cutting them. The torn edges mimic natural bark more effectively.
Step 6: Paint the Trunk and Branches
With the craft paper securely in place, it’s time to add color.

Apply brown paint to the entire trunk and branch structure.
Use varying shades of brown, or add a touch of black or dark green, to create depth and visual interest.
Allow the paint to dry completely before moving to the next step.
This might take several hours, depending on the paint type and thickness of application.
Step 7: Create the Canopy and Leaves
While the trunk dries, start crafting your tree’s lush canopy.

Cut out numerous leaf shapes from green construction paper or felt.
Vary the shades of green to make the foliage appear more natural and vibrant.
You can also create larger, cloud-like canopy shapes from green poster board or cardboard.
Consider cutting smaller slits or folds in the leaves to give them a slight 3D effect.
Step 8: Attach the Leaves and Canopy
Once the trunk is fully dry, begin attaching your leaves and canopy elements.
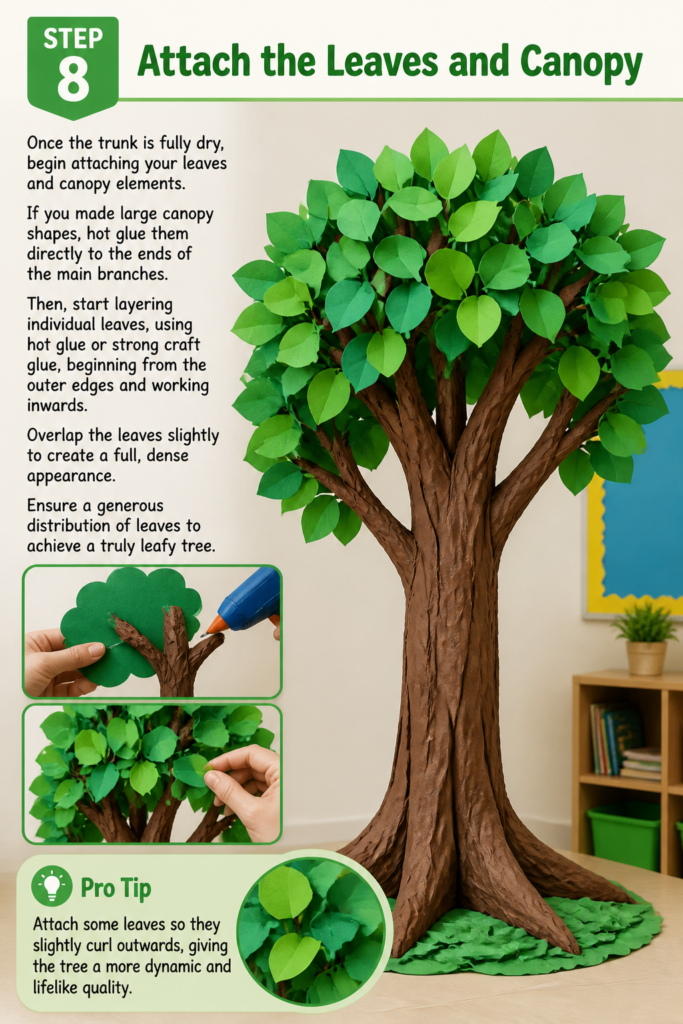
If you made large canopy shapes, hot glue them directly to the ends of the main branches.
Then, start layering individual leaves, using hot glue or strong craft glue, beginning from the outer edges and working inwards.
Overlap the leaves slightly to create a full, dense appearance.
Ensure a generous distribution of leaves to achieve a truly leafy tree.
Pro Tip: Attach some leaves so they slightly curl outwards, giving the tree a more dynamic and lifelike quality.
Step 9: Decorate and Personalize Your Tree
Now comes the fun part: making your tree uniquely yours and your classroom’s.

Hang student artwork, photos, or educational materials from the branches using clothespins or string.
Add fairy lights for a magical touch, especially in a reading corner.
Consider seasonal decorations that can be easily changed throughout the year, making the tree a dynamic learning tool.
This personalization invites students to take ownership and pride in their classroom environment.
Step 10: Secure Your Tree
Even with a sturdy base, it’s wise to add extra security, especially in a busy classroom.

If the tree is freestanding, consider gently taping the back of the trunk to a wall or a heavy piece of furniture.
Use strong, removable adhesive strips or painter’s tape to avoid damaging surfaces.
This small step prevents accidental tipping and ensures everyone’s safety.
Common Mistakes to Avoid
Weak Base Construction
A common pitfall is not creating a sufficiently stable base for your tree.
If the base is too small or poorly reinforced, the tree will wobble or even tip over.
Always use sturdy cardboard for the base and reinforce all joints with ample hot glue or strong tape.
Consider adding weighted elements inside the base, like sandbags or bricks, if the tree is very tall.
Rushing Drying Times
Impatience can lead to a messy and less durable tree.
Applying subsequent layers of paint or glue before the previous one is fully dry can cause smudging, peeling, or weak bonds.
Allow ample drying time for each painted section and every glued joint.
This ensures a clean finish and a structurally sound creation.
Overloading Branches
It’s tempting to hang many decorations, but overloading the branches can cause them to sag or break.
Remember that your cardboard branches have weight limits.
Use lightweight decorations and distribute them evenly across the tree.
If you plan to hang heavier items, reinforce the branches with wooden dowels or extra layers of cardboard during construction.
Ignoring Classroom Space
Sometimes, enthusiasm leads to a tree that is too large for the available classroom area.
A tree that obstructs walkways or blocks whiteboards can become a nuisance.
Measure your space carefully before you begin drawing and cutting your tree pieces.
Ensure there’s enough room for students to move freely around it.
Troubleshooting
Tree Wobbles or Feels Unstable
If your finished tree feels a bit wobbly, don’t worry, there are solutions.
Check the base connections first; add more hot glue or tape to any loose joints.
For a freestanding tree, gently secure the back of the trunk to a nearby wall using strong painter’s tape or removable adhesive strips.
You can also place heavy books or small sandbags around the inside perimeter of the base for added stability.
Leaves Are Falling Off
Loose leaves are often a sign of insufficient glue or improper application.
Reattach fallen leaves using a hot glue gun, ensuring you apply a small but firm dab of glue to the back of each leaf.
Press the leaf firmly onto the canopy or branch for a few seconds to create a strong bond.
For future leaf application, use a generous amount of craft glue or hot glue, especially on rougher surfaces.
Paint Appears Streaky or Uneven
Streaky paint can occur if the paint is too thin, the brush is too dry, or coats are applied unevenly.
Apply another thin, even coat of paint over the streaky areas once the first layer is completely dry.
Use a good quality brush and ensure it has enough paint to cover the surface smoothly without dripping.
Consider doing two thinner coats rather than one thick one for a more uniform finish.
Key Takeaways
- Plan Ahead: Sketching your tree and gathering all materials beforehand saves time and reduces stress.
- Prioritize Stability: A strong, well-reinforced base is paramount for safety and longevity.
- Embrace Texture: Crumpled paper and layered paint add incredible depth and realism to your tree.
- Allow Drying Time: Patience ensures strong bonds and a clean, professional finish.
- Personalize and Adapt: Make the tree a dynamic, interactive learning tool by changing decorations seasonally.
- Safety First: Secure your tree to prevent tipping and always supervise children when using sharp tools.
Frequently Asked Questions
What materials are best for making a durable classroom tree?
Large, sturdy cardboard boxes are excellent for the main structure due to their rigidity and availability.
Hot glue provides strong, fast bonds, making it ideal for assembly.
Brown craft paper or butcher paper adds a great base texture for painting, enhancing durability and appearance.
How can I make the tree a collaborative project with my students?
Students can be involved in many stages, from designing the leaf shapes to cutting them out.
They can also paint the leaves, help crumple and attach the brown paper, and, of course, decorate the finished tree.
Assigning specific tasks based on age and ability fosters teamwork and ownership.
Can I make the tree adaptable for different seasons or themes?
Absolutely! Design your tree with interchangeable decorations in mind.
Use small clothespins to attach seasonal leaves (e.g., red and orange for autumn, white for winter).
Hang themed ornaments, student artwork, or relevant learning materials that can be swapped out easily to match current lessons or holidays.
How do I store the tree if I need to put it away?
If you created an interlocking 3D tree, it can often be gently disassembled by separating the trunk pieces.
Carefully remove any attached decorations and store the main components flat or rolled if possible.
If your tree is more permanent, consider a dedicated storage corner or a large box for seasonal items.
Our Top Recommended Finds
- Heavy-Duty Hot Glue Gun: Essential for quickly and securely assembling cardboard components. Look for one with a comfortable grip.
- Large Roll of Brown Butcher Paper: Perfect for covering the cardboard structure, providing a realistic bark texture and a smooth painting surface.
- Classroom Tempera Paint Set: Offers a wide range of colors, is easy to clean, and adheres well to paper and cardboard surfaces.
Cultivating Classroom Creativity
Bringing a handmade tree into your classroom does more than just fill a corner; it sparks imagination.
This project becomes a symbol of growth, learning, and the natural world right within your teaching space.
Consider extending its life by making it a “knowledge tree,” where new facts or vocabulary words sprout each week.
Start your classroom tree project today and watch your students’ eyes light up with wonder and engagement.