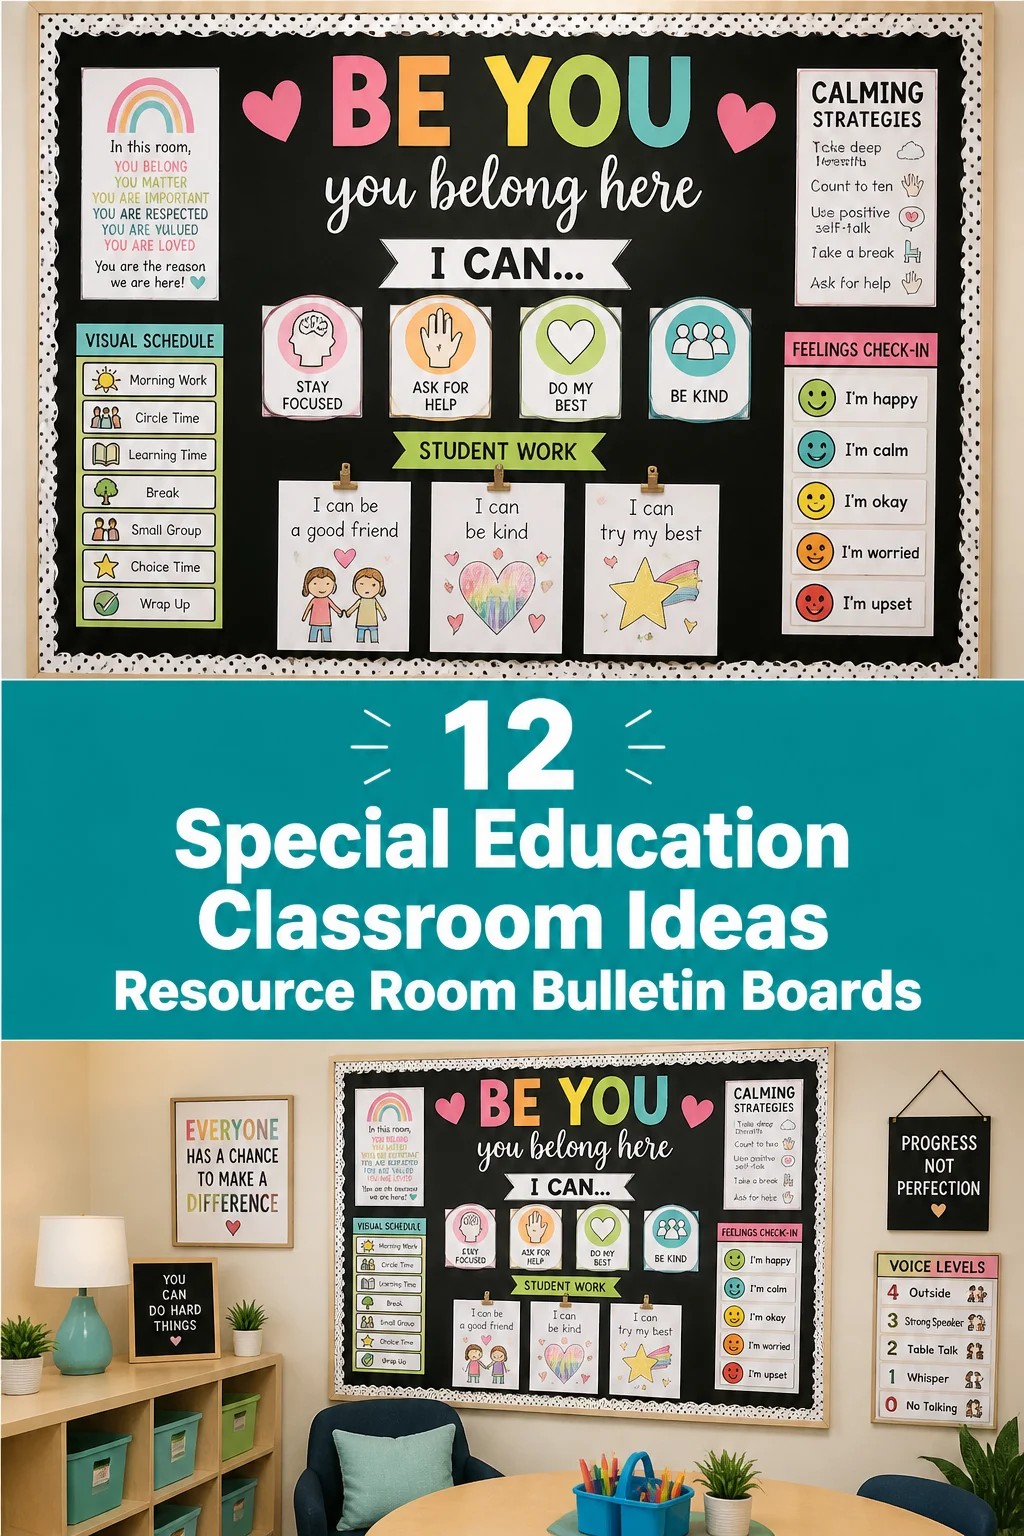
💡 12 Special Education Classroom Ideas Resource Room Bulletin Boards
Okay, fellow classroom wizard, are you staring at that blank bulletin board again, feeling the pressure to make it both inspiring and functional for your incredible students?
We’ve all been there, trust me. No worries, because I’ve brewed up a dozen seriously cool, no-fuss ideas to transform those sad spaces into vibrant learning hubs.
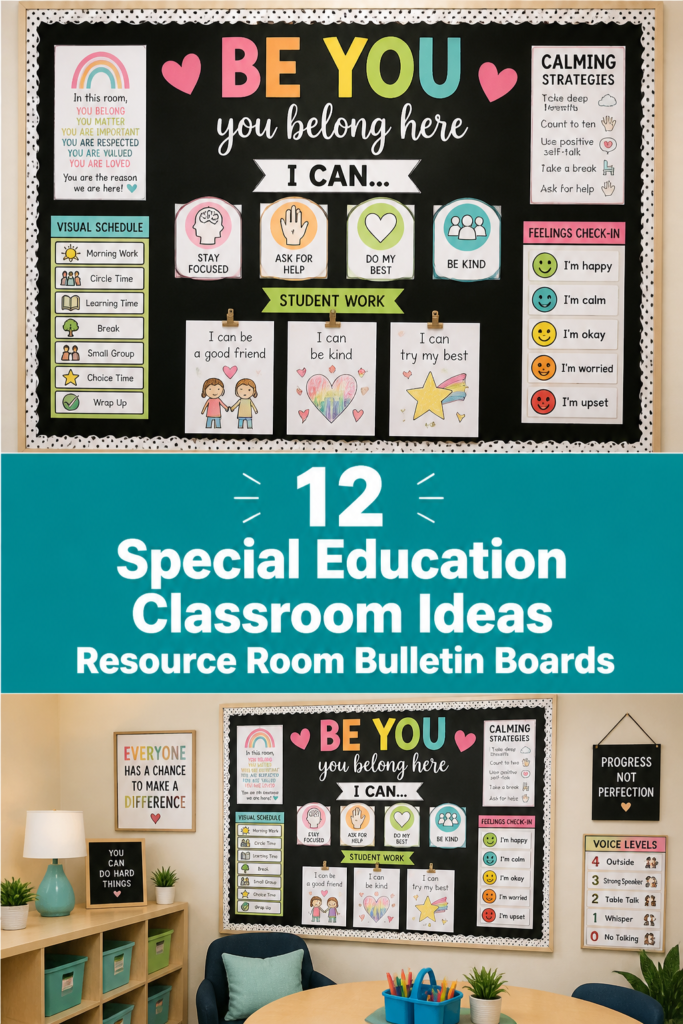
1. “I Can” Statements Goal Tracker
- Best For: IEP goal tracking, student self-monitoring
- Vibe: Empowering, organized, bright
- Why it works: Students visually track progress, boosting ownership and motivation.
Set up a board with colorful pockets or clothespins. Each student gets a section with their individualized “I Can” statements printed on cardstock. They move a star or clip to show mastery, perhaps from “Learning” to “Mastered.” Think bright blues and greens for a calming yet encouraging feel.
Pro Tip: Use laminated cards for durability, because let’s be real, tiny hands are not always gentle.
2. Sensory Regulation Station
- Best For: Fidget breaks, calming strategies, self-regulation
- Vibe: Soothing, accessible, quiet zone
- Why it works: Provides visual prompts for students to choose and use sensory tools effectively.
Create sections with images of different sensory tools like fidget spinners, stress balls, or weighted lap pads. Students can point to what they need or select a corresponding picture card. Use soft grays and muted purples to promote a serene environment. This helps them articulate needs without verbalizing a full sentence.
Pro Tip: Include a small mirror so students can practice identifying their emotions before choosing a tool.
3. Visual Schedule Showcase
- Best For: Daily routines, transitions, reducing anxiety
- Vibe: Predictable, clear, structured
- Why it works: Visuals provide concrete information, helping students understand and anticipate daily activities.
This board is your daily roadmap, literally. Use large, clear picture cards for each activity, moving them across a horizontal line as the day progresses. Velcro dots are your best friend here, allowing for easy updates. A clean white background with bold black outlines works wonders for readability.
Pro Tip: Involve students in moving the “finished” activity card; it builds agency and reinforces the schedule.
4. Student Work Spotlight
- Best For: Celebrating achievements, boosting self-esteem
- Vibe: Proud, vibrant, personal gallery
- Why it works: Showcases individual student accomplishments, fostering a positive and inclusive classroom culture.
Dedicate a prime spot to display recent student masterpieces, academic wins, or even personal growth achievements. Use brightly colored borders around each piece and maybe a fun title like “Our Amazing Brains at Work!” Rotate the work weekly or bi-weekly to give everyone a moment in the sun. Think warm yellows and oranges to evoke joy.
Pro Tip: Let students choose which piece they want to display; it gives them ownership and pride.
5. Social-Emotional Check-In
- Best For: Emotional literacy, daily mood tracking
- Vibe: Empathetic, supportive, communicative
- Why it works: Helps students identify and communicate their feelings, promoting emotional intelligence.
Design a board with various emotion faces (happy, sad, angry, calm, tired). Students move their name tag or a small clip to the emotion they are feeling when they arrive. This costs next to nothing if you print and laminate images. Use a calming blue background with diverse facial expressions.
Pro Tip: Have a “What Helps?” section next to each emotion, offering simple strategies like “take a deep breath” or “ask for a break.”
6. Calming Corner Companion
- Best For: De-escalation, quiet reflection, self-soothing
- Vibe: Zen, peaceful, safe haven
- Why it works: Offers visual prompts for calming strategies, guiding students to regulate their emotions independently.
If you have a designated calming corner, this board is its best friend. Display visuals for breathing exercises, counting strategies, or “5 senses” grounding techniques. Use soft, muted colors like lavender and sage green to enhance the tranquil atmosphere. Keep it simple and uncluttered.
Pro Tip: Include a small pocket with laminated cards of positive affirmations for students to choose from.
7. Skill-Building “How-To” Guides
- Best For: Independent learning, task completion, life skills
- Vibe: Practical, step-by-step, empowering
- Why it works: Breaks down complex tasks into manageable visual steps, promoting independence and skill acquisition.
Choose a common classroom task, like “How to Clean Up Your Desk” or “How to Ask for Help.” Break it down into 3-5 simple, visual steps using real photos or clear illustrations. Print these on sturdy cardstock and laminate them. A bold, contrasting color scheme (like navy blue and yellow) makes it pop and easy to follow.
Pro Tip: Create small, individual “How-To” flip books students can take to their desks for specific tasks.
8. Vocational Skills Display
- Best For: Pre-vocational training, job readiness, real-world connections
- Vibe: Professional, aspirational, practical
- Why it works: Connects classroom learning to future employment possibilities, building relevant life skills.
Highlight various job skills or community roles using real-world pictures. Think “Grocery Store Worker” showing stocking shelves, or “Librarian” with organizing books. You can even include a “Job of the Week” spotlight with a brief description of duties. Use a professional, clean layout with simple fonts and neutral colors, perhaps a touch of brown or beige.
Pro Tip: Incorporate actual tools or props like a small price scanner or a library card alongside the visuals to make it tangible.
9. “My Voice Matters” Communication Board
- Best For: Non-verbal communication, choice-making, expressing needs
- Vibe: Inclusive, expressive, interactive
- Why it works: Provides an accessible platform for students to communicate preferences, needs, and thoughts.
This board empowers students to communicate without words. Use clear images or symbols for common requests: “I need a break,” “I want water,” “Yes,” “No,” “More.” Students can point to or attach their choice. A white background with high-contrast images ensures clarity, and bold red for “stop” or “no” is universally understood.
Pro Tip: Personalize the board with student-specific interests or preferred activities to make it even more engaging.
10. Behavior Reinforcement Board
- Best For: Positive behavior support, goal setting, motivation
- Vibe: Encouraging, rewarding, goal-oriented
- Why it works: Visually tracks positive behaviors, reinforcing desired actions and motivating students towards goals.
Create a simple chart where students can earn stars or tokens for specific positive behaviors, like “staying on task” or “using kind words.” Once they reach a certain number, they earn a pre-selected reward. Use a vibrant, inviting color scheme like orange and teal to keep it cheerful. Make sure the rewards are clearly pictured.
Pro Tip: Let students help choose the rewards; they’ll be more invested in achieving their goals.
11. “Where Am I Going” Transition Board
- Best For: Group transitions, special classes, reducing confusion
- Vibe: Clear, anticipatory, smooth
- Why it works: Provides advance notice and visual cues for upcoming transitions, minimizing anxiety and disruptions.
This board is a lifesaver for group transitions. Use large arrows or a “next up” section with pictures indicating where the class is going next – “Art,” “Gym,” “Library,” “Lunch.” Keep it high up and visible for everyone. A simple green and yellow scheme conveys a “go” or “ready” feeling.
Pro Tip: Have a “Last 5 Minutes” timer visual next to the upcoming destination to prepare students for the shift.
12. Interactive Alphabet/Number Line
- Best For: Early literacy/numeracy, tactile learning, concept reinforcement
- Vibe: Engaging, foundational, hands-on
- Why it works: Provides a multi-sensory way for students to explore letters, sounds, and number concepts.
Go beyond a static display! Attach actual objects or textured letters/numbers to the board. Students can touch the foam letters, feel the sandpaper numbers, or match objects to initial sounds. Use a rainbow color scheme for each letter or number to make it visually stimulating. This makes learning tactile and fun.
Pro Tip: Include a small mirror next to letter cards for students to practice mouth shapes for sounds.
Our Top Recommended Finds
Alright, you’ve got the inspo, now let’s talk tools. These are the unsung heroes that make these bulletin board dreams a reality without breaking the bank.
- A Reliable Laminator: Because let’s be real, tiny hands and repeated use demand durability. Think of it as a force field for your fabulous creations.
- Velcro Dots and Strips: Your absolute BFF for anything interactive. These bad boys make changing out schedules and student work a breeze, saving your sanity daily.
- Assorted Cardstock Pack: Forget flimsy paper. Sturdy, colorful cardstock makes your visuals pop and holds up way better to enthusiastic pointing and moving.
Which of these will you try first?
So there you have it, twelve ways to level up your resource room bulletin boards from “meh” to “OMG, I need that.” Seriously, your students (and your future self) will thank you.
Which brilliant idea are you totally eyeing for your next classroom glow-up? Drop a comment below and let us know your faves!