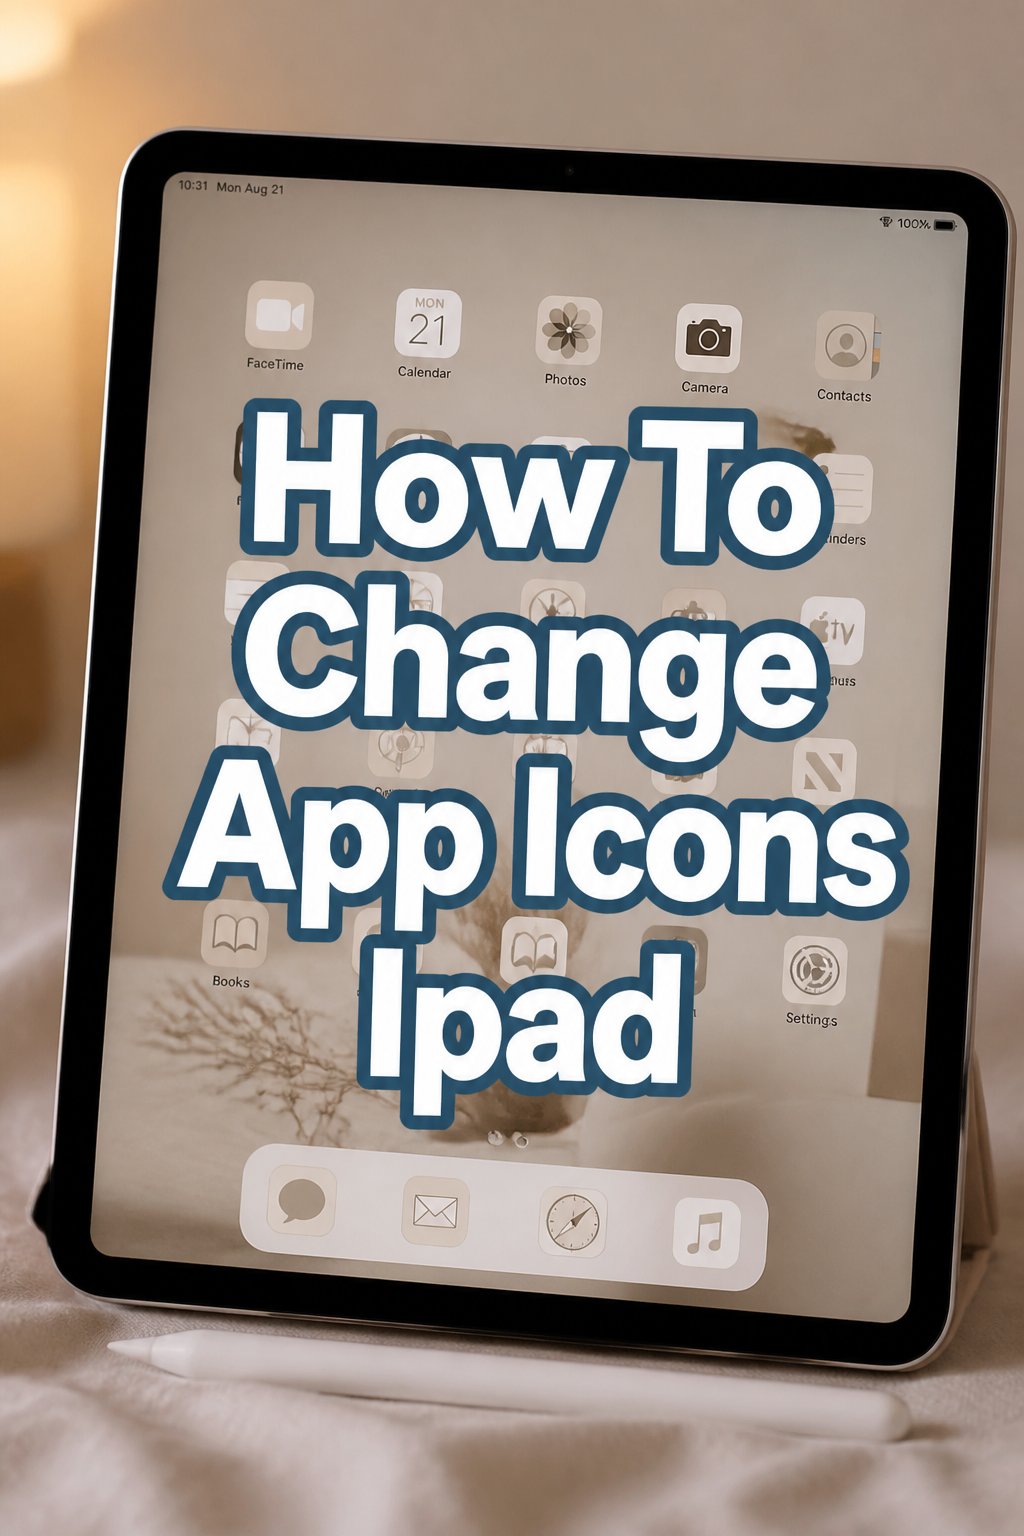
✨ How To Change App Icons Ipad
Your iPad is a powerful tool, and it should reflect your unique style. For years, I’ve enjoyed personalizing my devices, finding that a custom look makes my tech feel truly mine. Changing app icons is a fantastic way to refresh your iPad’s aesthetic without needing a new device.
This guide will walk you through the process, making it easy for anyone to create a personalized home screen. You’ll learn how to transform your standard app icons into something entirely new and exciting. Get ready to give your iPad a makeover that truly stands out.
Quick Overview
This guide will empower you to completely customize your iPad’s app icons using the built-in Shortcuts app. You’ll learn how to select custom images and assign them to your favorite applications, creating a unique and personalized home screen experience. The process is straightforward and offers a great way to express your individuality.
- Time needed: 15-30 minutes (depending on how many icons you change)
- Difficulty: Beginner
- What you’ll need: An iPad running iOS 14 or later, the Shortcuts app (pre-installed), internet access, and your desired icon images.
Step-by-Step Instructions
Step 1: Gather Your Custom Icons
Before you begin, you need to decide what images you want to use as your new app icons. These can be anything from minimalist designs to photos of your pets. Think about a theme or color scheme for your iPad.
You can find great icon packs online, create your own using an image editor, or even download images directly from the web. Make sure your chosen images are square for the best results, and save them to your iPad’s Photos app. High-resolution images will look much sharper on your screen.
Pro Tip: Search for “aesthetic app icons” or “iOS custom icons” on Pinterest or Etsy for a wealth of pre-made options. Many creators offer full icon packs designed to match.
Step 2: Open the Shortcuts App
The Shortcuts app is the key tool for this customization. It comes pre-installed on your iPad, so you don’t need to download anything new. Locate the Shortcuts app icon, which typically looks like two overlapping squares, and tap to open it.
If you can’t find it immediately, swipe down from the middle of your home screen to bring up Spotlight Search. Type “Shortcuts” into the search bar, and the app will appear. Tap on it to launch the application.
Step 3: Create a New Shortcut
Once inside the Shortcuts app, you’ll see a gallery of existing shortcuts or an empty library. To start fresh, tap the plus sign (+) icon in the top right corner of the screen. This action will open a new, blank shortcut canvas.
This new canvas is where you’ll build the instruction for your custom icon. You are essentially telling your iPad what to do when you tap this new icon. It’s a simple process of adding actions.
Step 4: Add the “Open App” Action
In the new shortcut screen, you’ll see a prompt to “Add Action.” Tap on this button to bring up a list of possible actions. In the search bar at the top, type “Open App.” Select “Open App” from the results that appear.
This action is crucial because it tells your custom icon which application to launch. Without this step, your new icon wouldn’t do anything useful. It’s the core function of your custom shortcut.
Step 5: Choose the App to Customize
After adding the “Open App” action, you’ll see “App” written in blue text next to “Open.” Tap on the blue “App” text. A list of all the applications installed on your iPad will appear.
Scroll through the list and select the specific app you want to give a new icon. For example, if you’re changing the Mail app icon, tap on “Mail.” This links your new shortcut directly to that particular application.
Step 6: Configure Shortcut Details for Home Screen
Now that the shortcut knows which app to open, it’s time to set up its appearance on your home screen. Tap the downward-facing arrow or the share icon (a square with an arrow pointing up) at the top of the screen, next to the “New Shortcut” title. From the menu that appears, select “Add to Home Screen.”
This action initiates the process of placing your custom icon on your iPad’s main interface. It’s the moment where your shortcut transforms into a visible app icon. A new window will pop up, showing a preview of your icon.
Step 7: Name Your Shortcut and Choose Your Icon Image
In the “Add to Home Screen” window, you’ll see a text field labeled “Home Screen Name and Icon.” This is where you’ll name your new icon. Type the name of the app (e.g., “Mail,” “Safari,” “Photos”) into the text field. This name will appear below your custom icon on the home screen.
Next, tap the small icon image next to the name field. A menu will appear with options: “Take Photo,” “Choose Photo,” or “Choose File.” Select “Choose Photo” to browse your Photos app for the custom image you prepared in Step 1. Navigate to your desired image, select it, and then use the crop tool to adjust it to fit the square frame. Tap “Choose” when you’re satisfied.
Pro Tip: For a clean look, try to keep the name short or even use an emoji that represents the app. This can enhance the visual appeal of your custom home screen layout.
Step 8: Add to Home Screen and Finish
Once you’ve named your shortcut and selected your custom image, tap the “Add” button in the top right corner of the “Add to Home Screen” window. Your iPad will then place the new custom icon directly onto your home screen.
You can now close the Shortcuts app. Go back to your home screen, and you’ll see your brand-new, customized app icon. It will sit alongside your other apps, ready for you to tap and enjoy.
Step 9: Organize Your Home Screen
You’ll now have two icons for the same app: the original one and your new custom icon. To maintain a clean and customized look, you’ll want to hide the original app icon. Do not delete the original app.
Press and hold down on the original app icon until a menu appears. Select “Remove App,” then choose “Remove from Home Screen” (not “Delete App”). This will move the original app icon to your App Library, keeping your home screen tidy while ensuring the app remains fully functional. You can then drag and arrange your new custom icons to create your perfect aesthetic.
Common Mistakes to Avoid
Deleting the Original App
A frequent error is deleting the original application instead of simply removing its icon from the home screen. When you create a custom app icon through Shortcuts, you are essentially creating a bookmark. This bookmark points to the actual app. Deleting the original app will make your custom icon unusable, as there will be no application for it to open.
Always choose “Remove from Home Screen” when prompted, not “Delete App.” The original app will still be accessible through the App Library, ensuring your custom icons work correctly.
Using Low-Resolution Images
Choosing images that are too small or have poor resolution for your custom icons can lead to a pixelated or blurry appearance on your iPad’s display. What looks good as a small thumbnail might not scale well when displayed as an app icon. This can detract from the overall aesthetic you’re trying to achieve.
Always opt for high-resolution images. If you’re downloading icons, look for images that are at least 512×512 pixels or larger. This will ensure your custom icons appear crisp and clear on your iPad’s Retina display.
Forgetting to Name the Shortcut
It’s easy to get excited about choosing your new icon and overlook the naming step. If you don’t provide a name for your shortcut, it will appear on your home screen with a generic name like “Shortcut” or no name at all. This can be confusing and makes it harder to identify the app quickly.
Always take a moment to give your custom icon a clear and descriptive name. This name will appear directly below the icon on your home screen, helping you easily identify which app it opens.
Not Placing Original Apps in the App Library
Leaving both the original app icon and your custom shortcut on the home screen can lead to clutter and defeat the purpose of customization. It can be confusing to have two icons that perform the same function, taking up valuable space. Your home screen should feel streamlined and intentional.
After adding your custom icon, always remove the original app’s icon from the home screen by sending it to the App Library. This keeps your home screen clean and dedicated to your personalized layout. The App Library is designed to house all your apps neatly, whether they have custom icons or not.
Troubleshooting
Shortcut Opens Shortcuts App First
This is a very common behavior when using custom app icons. When you tap your custom icon, it first briefly opens the Shortcuts app before launching the intended application. This is how the system processes the command. Unfortunately, there isn’t a direct way to bypass this momentary flash of the Shortcuts app.
This is a design choice by Apple for how these custom shortcuts function. While it might seem like an extra step, the app still launches quickly. Focus on the aesthetic benefit and the functionality remains the same.
Icon Looks Blurry or Pixelated
If your newly added custom icon appears blurry or pixelated on your home screen, the most likely cause is using a low-resolution image. The iPad’s display is very sharp, and smaller images will be stretched, leading to a loss of clarity. Your chosen image simply isn’t large enough to look good at icon size.
To fix this, you’ll need to create a new shortcut for that app using a higher-resolution image. Find or create an image that is at least 512×512 pixels. Replace the old blurry icon with the new, sharper one following the steps outlined in this guide.
Cannot Find Original App After Removing Icon
If you’ve removed an original app icon from your home screen and now can’t locate the actual application, don’t worry. The app itself hasn’t been deleted. It has simply been moved to your iPad’s App Library.
Swipe left on your home screen until you reach the very last page. This is your App Library, which automatically organizes all your installed applications into categories. You can find the app there, or use the search bar at the top of the App Library to quickly locate it by name.
Key Takeaways
- Custom app icons are created using the Shortcuts app, not by directly altering the original app.
- Always choose “Remove from Home Screen” for original apps, never “Delete App,” to avoid losing functionality.
- High-resolution, square images are essential for crisp and clear custom icons on your iPad.
- Naming your shortcut clearly helps with identification on your home screen.
- While a brief flash of the Shortcuts app occurs, it’s a normal part of the process and doesn’t affect functionality.
- The App Library is where original apps reside after their icons are removed from the home screen.
Frequently Asked Questions
Does changing an app icon delete the original app?
No, changing an app icon using the Shortcuts app does not delete the original application. You are creating a separate shortcut that acts as a custom launcher for the existing app. The original app remains fully installed on your iPad, ready to be opened.
Can I change my custom app icon back to the original?
Absolutely. If you decide you no longer want a custom icon, simply remove the custom shortcut icon from your home screen. Then, navigate to your App Library, find the original app, and drag its icon back to your home screen. This restores the default appearance instantly.
Does this method work for all apps on my iPad?
Yes, this method works for virtually all apps installed on your iPad, including Apple’s built-in apps and third-party apps downloaded from the App Store. As long as the app is installed and visible in your app list within Shortcuts, you can create a custom icon for it.
Why does the Shortcuts app open briefly before my custom app launches?
This behavior is a normal part of how custom app icons function on iOS and iPadOS. When you tap a custom icon, you are technically launching a shortcut, which then executes the command to open the desired app. The brief flash of the Shortcuts app is the system processing this command.
Our Top Recommended Finds
- Apple Pencil: Perfect for sketching and designing your own unique app icons with precision and creativity.
- iPad Stand with Adjustable Angle: Enhances comfort and viewing angles, making it easier to arrange and admire your newly customized home screen.
- Subscription to a Stock Photo/Icon Service: Provides access to a vast library of high-quality images and icon packs for endless customization possibilities.
Your Personalized iPad Awaits!
You’ve now mastered the art of customizing your iPad’s app icons. This simple yet effective trick allows you to infuse your personality into your daily digital experience. No more generic rows of icons; your iPad can now truly reflect your unique taste.
Don’t stop here! Consider exploring other iPad customization options, like custom widgets or dynamic wallpapers, to further enhance your device’s look. Take a moment to experiment with different icon sets and layouts. Start personalizing your iPad today, and enjoy a device that feels uniquely yours.