🤳 How To Take Good Selfies With Iphone
We all want to capture those perfect moments, but sometimes our iPhone selfies just don’t hit the mark. It can be frustrating when your photo doesn’t reflect how great you feel in real life.
I’ve spent countless hours experimenting with my iPhone camera, learning the ins and outs of what makes a selfie truly shine. This guide distills all those lessons into clear, actionable steps.
By following these practical tips, you’ll transform your selfie game and feel confident sharing your best self with the world. Let’s make every shot a keeper.

Quick Overview
This guide will empower you to consistently take stunning, natural-looking selfies with your iPhone. You’ll learn essential techniques from lighting to editing, boosting your confidence in every photo you share.
- Time needed: Approximately 45-60 minutes (reading + initial practice)
- Difficulty: Beginner
- What you’ll need: Your iPhone, a clean cloth, good lighting
Step-by-Step Instructions
Step 1: Clean Your Lens
This is the most overlooked yet crucial first step. Your iPhone lens picks up fingerprints and dust throughout the day. A smudged lens results in blurry, hazy, or low-contrast photos.
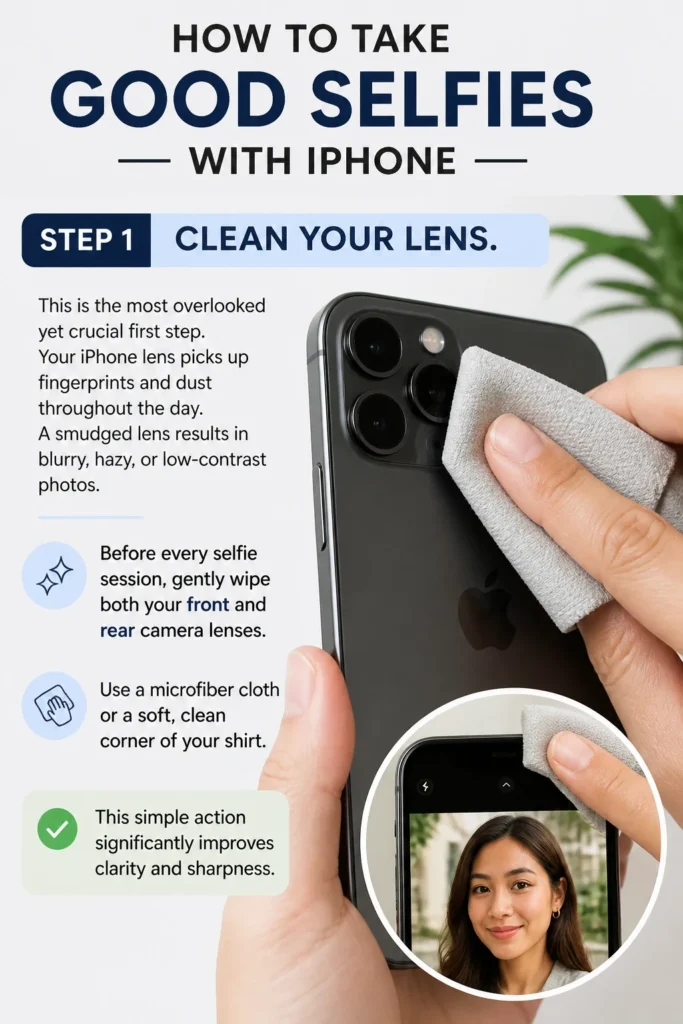
Before every selfie session, gently wipe both your front and rear camera lenses. Use a microfiber cloth or a soft, clean corner of your shirt. This simple action significantly improves clarity and sharpness.
Step 2: Find Your Light Source
Lighting is the single most important factor for a great selfie. Harsh overhead light creates unflattering shadows, while soft, even light enhances your features. Always face a light source directly, rather than having it behind you.

Position yourself facing a window during the day for beautiful, natural light. If you’re outdoors, look for open shade or wait for the “golden hour” right after sunrise or before sunset.
Pro Tip: The “golden hour” provides soft, warm, and diffused light that flatters almost everyone. It minimizes harsh shadows and adds a beautiful glow to your skin.
Step 3: Master Your Angle and Pose
Experiment with different angles to discover what flatters you most. Holding your iPhone slightly above eye level and tilting it down a bit often helps to define your jawline and make your eyes appear larger.

Avoid holding the camera too low, as this can create an unflattering double chin effect. Turn your head slightly to one side, rather than facing the camera straight on, to add dimension. A genuine smile or a relaxed, confident expression always works best.
Pro Tip: Try the “Rule of Thirds” in your mind. Imagine a grid on your screen and position your eyes along the top horizontal line. This often creates a more balanced and engaging composition.
Step 4: Utilize Portrait Mode
If your iPhone supports Portrait Mode, use it! This feature blurs the background, creating a professional-looking “bokeh” effect that makes you stand out. It helps to isolate you from distracting elements.
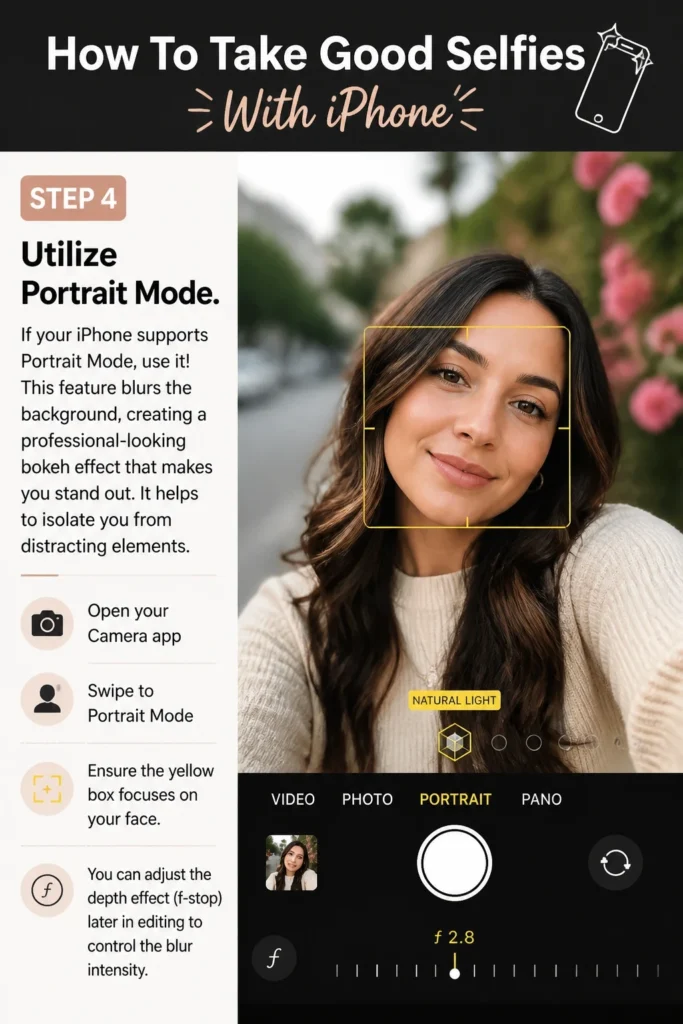
Open your Camera app, swipe to Portrait Mode, and ensure the yellow box focuses on your face. You can adjust the depth effect (f-stop) later in editing to control the blur intensity.
Step 5: Adjust Exposure and Focus
Sometimes, your iPhone’s automatic settings might not get the exposure quite right. Tap on your face on the screen to set the focus point. A small sun icon will appear next to the focus box.

Slide your finger up or down on the screen to manually adjust the exposure. Increase it if your face looks too dark, or decrease it if the highlights are blown out. This gives you greater control over the final look.
Step 6: Experiment with the Timer
Using the camera timer can eliminate awkward arm positions and allow for more natural poses. Set it to 3 or 10 seconds, then position your phone and get ready.

This is especially helpful for group selfies or when you want to use the higher-quality rear camera. It also frees up both hands for more expressive gestures or props.
Step 7: Edit Smartly, Not Excessively
Subtle edits can significantly enhance your selfie, but over-editing can make it look unnatural. Start with your iPhone’s built-in Photos app or a free app like Snapseed.

Focus on minor adjustments like brightness, contrast, and saturation. A slight crop can improve composition. Avoid heavy filters that drastically alter your appearance.
Pro Tip: Less is more when it comes to editing. Aim to enhance your natural features, not to completely change them. A touch of warmth or sharpness can make a big difference.
Step 8: Practice and Review
The best way to improve is through practice. Take many selfies, experiment with different settings, and then review them critically. Don’t be afraid to take multiple shots from varying angles.
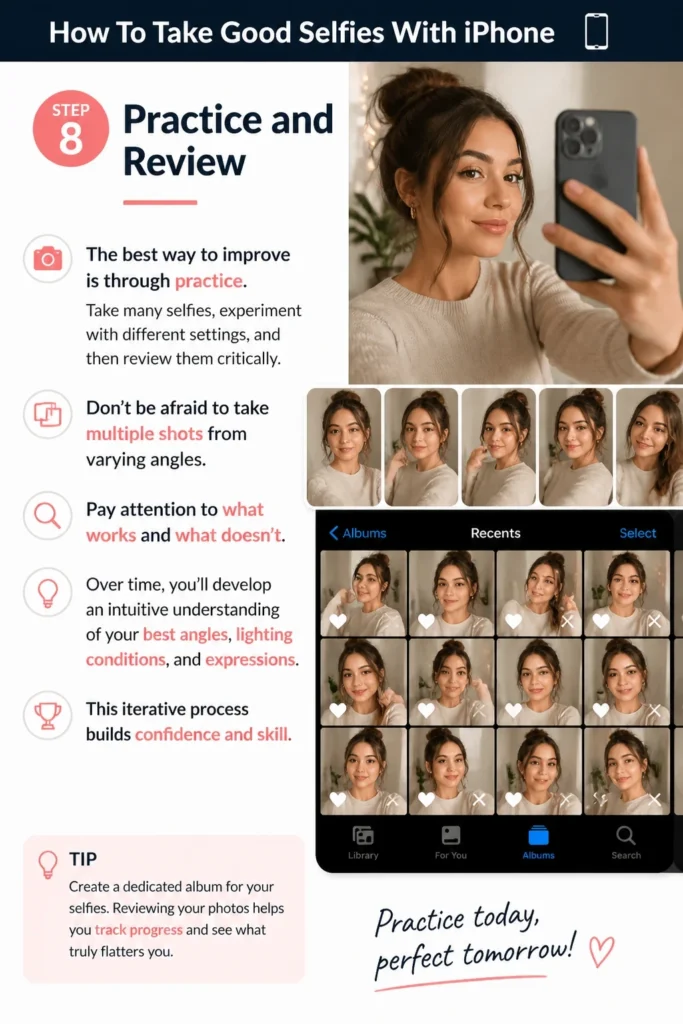
Pay attention to what works and what doesn’t. Over time, you’ll develop an intuitive understanding of your best angles, lighting conditions, and expressions. This iterative process builds confidence and skill.
Common Mistakes to Avoid
Poor Lighting
Trying to take a selfie in dimly lit rooms or with harsh overhead lights is a common pitfall. These conditions create unflattering shadows, hide your features, and make your skin look dull. Always seek out soft, even light.
Over-Editing
While editing can polish your photo, excessive use of filters, skin smoothing, or drastic adjustments can make your selfie look artificial. It often removes natural texture and makes faces appear unnatural or plastic. Aim for subtle enhancements that maintain your genuine look.
Awkward Angles or Expressions
Holding the camera too low can result in an unflattering perspective that emphasizes your chin. Similarly, forced smiles or uncomfortable expressions detract from the photo’s appeal. Practice relaxing your face and finding angles that highlight your best features.
Cluttered Backgrounds
A busy or messy background can distract from the main subject – you! Always take a moment to check what’s behind you. A clean, simple background helps to keep the focus on your face and makes your selfie look more professional.
Troubleshooting
Selfies look blurry or grainy
First, ensure your iPhone lens is perfectly clean. A smudged lens is the most frequent culprit. Next, check your lighting; low light often leads to grainy photos as the camera compensates with higher ISO.
If you’re in low light, try moving closer to a window or using a ring light. Tap on your face on the screen to ensure the camera is properly focused before you press the shutter button.
My face looks washed out or too dark
This usually indicates an issue with exposure. If your face is washed out, there might be too much light directly on you, or the exposure is set too high. If it’s too dark, there isn’t enough light, or the exposure is too low.
Tap on your face to set the focus, then slide the sun icon up or down to manually adjust the brightness. Reposition yourself relative to your light source; step back from a window if it’s too bright, or move closer if it’s too dim.
My arm is visible in the shot or the angle feels awkward
This is a common struggle when holding the phone at arm’s length. To fix this, try using your iPhone’s self-timer feature, setting it to 3 or 10 seconds. This allows you to position your phone at the desired angle without your arm being a distraction.
A tripod with a phone mount can also provide stability and allow for more creative angles without your arm in the frame. Practice different hand grips to find what feels most natural for you.
Key Takeaways
- Always clean your iPhone lens before taking a selfie for maximum clarity.
- Good lighting is paramount; face a soft, natural light source like a window.
- Experiment with angles and expressions to find what flatters you most.
- Utilize Portrait Mode for a professional-looking blurred background.
- Make smart, subtle edits to enhance your photo, avoiding over-processing.
- Practice regularly and review your photos to consistently improve your selfie skills.
Frequently Asked Questions
Should I use the front or back camera for selfies?
The front-facing camera is convenient for framing and immediate feedback, but the rear camera generally offers superior image quality, resolution, and low-light performance. If quality is your top priority, use the rear camera with the timer or a remote shutter.
How do I get rid of a double chin in my selfies?
To minimize the appearance of a double chin, try holding your iPhone slightly higher than eye level and tilting it down. Extend your chin slightly forward and down, creating a subtle stretch in your neck. This small adjustment can make a significant difference.
What’s the best time of day for selfies?
The “golden hour,” occurring shortly after sunrise and before sunset, offers the most flattering light. It’s soft, warm, and diffused, minimizing harsh shadows. Overcast days also provide excellent soft, even lighting throughout the day.
Can I take good selfies indoors?
Absolutely! The key is to position yourself near a large window, facing towards it. This provides soft, natural light, similar to an outdoor setting. Avoid harsh overhead lights or backlighting, which can create shadows or make your face appear dark.
Our Top Recommended Finds
- Portable Ring Light: A compact, rechargeable ring light can provide consistent, soft, and flattering illumination, especially useful in low-light indoor settings or for adding a catchlight to your eyes.
- Mini Tripod with Phone Holder: This allows you to stabilize your iPhone for hands-free shots, perfect for using the timer or experimenting with more elaborate poses without arm strain.
- Bluetooth Remote Shutter: A small remote pairs with your iPhone, letting you trigger the camera from a distance. It’s ideal for group selfies, using the rear camera, or achieving natural, unposed shots.
Your Journey to Selfie Confidence Begins Now
Taking a great selfie is more than just pointing and shooting; it’s an art form that combines lighting, angle, expression, and a touch of smart editing. With your iPhone, you have a powerful tool capable of capturing stunning images.
Now that you have these practical steps, it’s time to put them into action. Grab your iPhone, find some good light, and start experimenting. Don’t be afraid to try new things and discover what works best for you.
Soon, you’ll be capturing confident, authentic, and truly amazing selfies that reflect your best self. Keep practicing, keep smiling, and enjoy the process of perfecting your personal brand.