🤳 How To Take A Good Selfie On Iphone
I used to dread taking selfies. My early attempts often looked awkward, poorly lit, or just plain unflattering. It felt like everyone else effortlessly captured amazing shots.
After countless tries and a deep dive into iPhone camera settings, I finally cracked the code. This guide shares everything I learned, transforming my selfie game from frustrating to fantastic. You’ll soon be taking photos you genuinely love.
Quick Overview
This guide will empower you to consistently capture stunning selfies using just your iPhone. You’ll learn essential techniques for lighting, angles, composition, and smart editing.
- Time needed: 20-30 minutes (to read and practice initial steps)
- Difficulty: Beginner
- What you’ll need: Your iPhone, a clean cloth, and a well-lit space
Step-by-Step Instructions
Step 1: Clean Your Lens
This might seem obvious, but it’s often overlooked. Your iPhone spends a lot of time in pockets, bags, or handled with fingers. This leaves smudges and dust on the camera lens.
A dirty lens makes your selfies appear blurry, hazy, or lacking sharpness. Always start with a crystal-clear lens for the best results.
Wipe your front-facing camera lens with a soft, microfiber cloth. A corner of your t-shirt can work in a pinch, but a dedicated cloth is better. Ensure no lint is left behind.
Step 2: Find Your Light Source
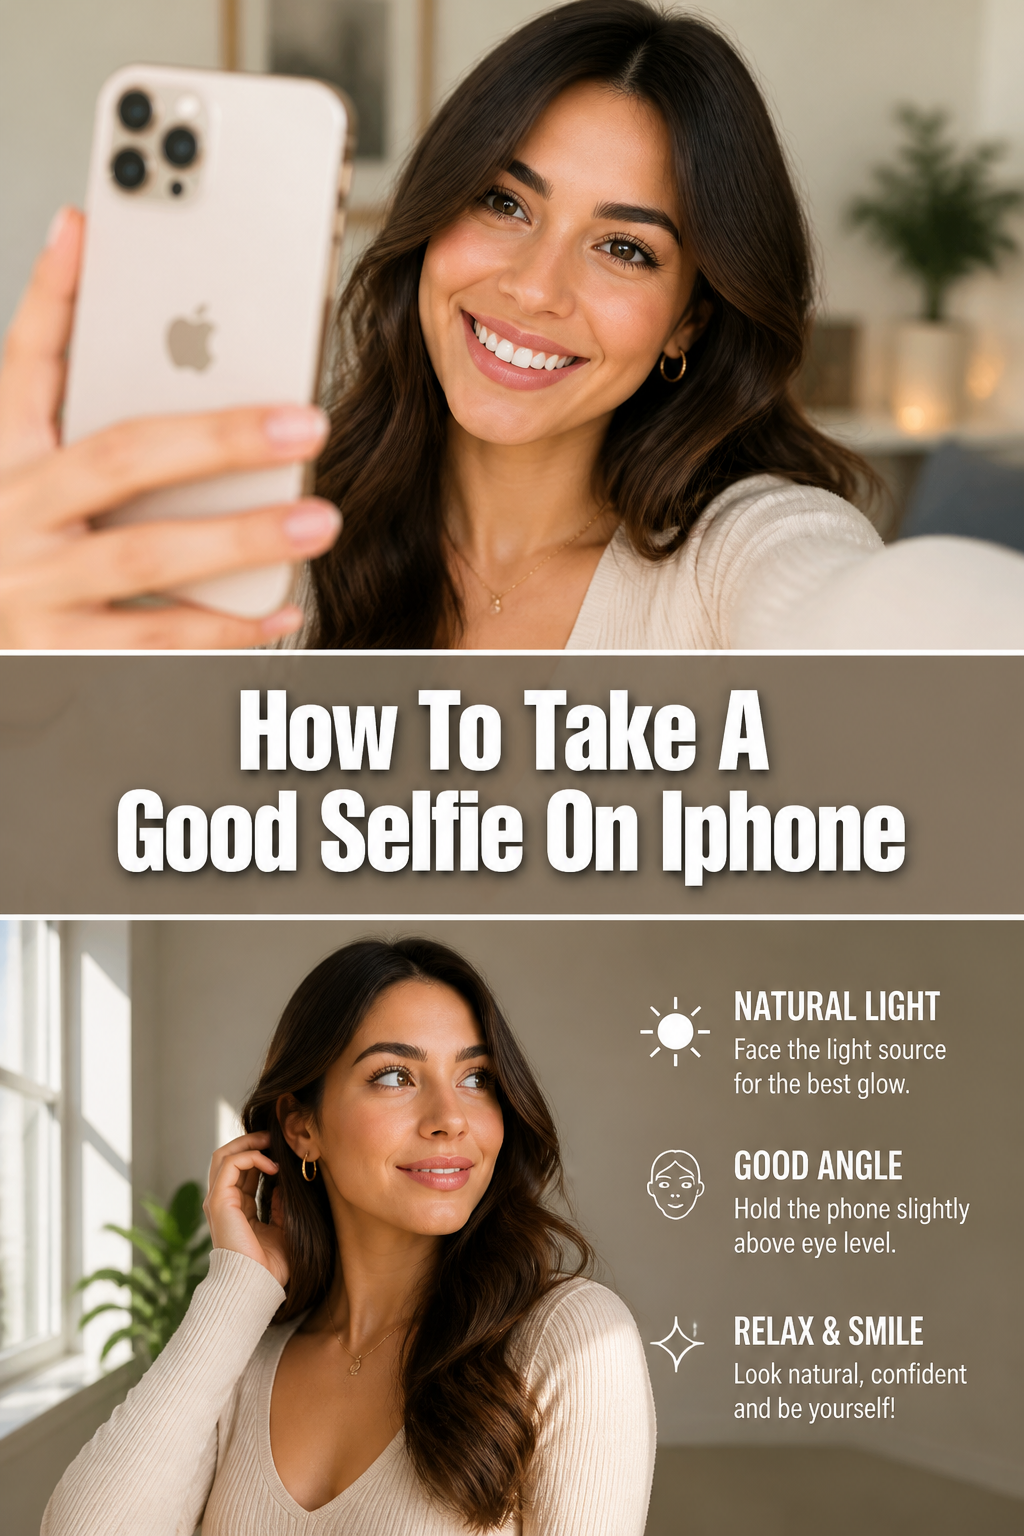
Good lighting is the single most important factor for a great selfie. Natural light is your best friend. It’s soft, flattering, and readily available.
Position yourself facing a window or an open door during the day. This provides even, diffused light that smooths skin tones and brightens your eyes. Avoid direct overhead lighting or harsh sunlight, which can create unflattering shadows.
Pro Tip: Overcast days are perfect for outdoor selfies. The clouds act as a giant diffuser, creating beautifully soft light. If indoors, stand a few feet back from the window to avoid overexposure.
Step 3: Master the Angle
The right angle can make a huge difference in how your face appears. Most people find a slightly elevated angle to be the most flattering. This elongates the neck and defines the jawline.
Hold your iPhone slightly above eye level. Then, tilt it downwards slightly towards your face. Experiment by rotating your head a little to the left or right to find your “best side.”
Avoid holding the phone too low, as this can create a double chin effect or make your features appear distorted. Practice in front of a mirror first if you feel awkward.
Step 4: Utilize Grid Lines for Composition
Your iPhone camera has a built-in grid feature that can dramatically improve your composition. This helps you apply the “rule of thirds,” a fundamental principle in photography.
Go to Settings > Camera > Grid and toggle it on. In your camera app, you’ll now see a 3×3 grid. Position your eyes or face along one of the intersecting lines or points.
This off-center placement often creates a more dynamic and interesting photo than simply centering your face. It guides the viewer’s eye naturally.
Step 5: Experiment with Expressions
A good selfie isn’t just about technical settings; it’s about conveying emotion. Don’t be afraid to try different looks. A genuine smile is always captivating.
Try a soft smile, a full laugh, or even a thoughtful, serious expression. Look directly into the camera lens, not at your reflection on the screen. This creates a more personal connection with the viewer.
Take multiple shots with slightly varied expressions. You’ll be surprised how different each one looks.
Step 6: Use the Volume Button or Timer
Stretching your thumb to tap the on-screen shutter button can lead to camera shake or an awkward hand position. There are better ways to trigger the shot.
Press either the volume up or volume down button on your iPhone to take a photo. This provides a more stable grip and reduces blur. For hands-free shots, use the self-timer.
To use the timer, tap the arrow at the top of the camera screen, then select the clock icon. Choose between a 3-second or 10-second delay. This is great for group selfies or when you need to pose without holding the phone.
Step 7: Check Your Background
A messy or distracting background can ruin an otherwise perfect selfie. Your background should complement you, not compete for attention.
Scan the area behind you before you snap the picture. Look for clutter, strange objects, or anything that might draw the eye away from you. A plain wall, a natural outdoor setting, or a clean, organized space works best.
If your background is busy, consider using Portrait mode (if available on your iPhone) to blur it out. This keeps the focus squarely on you.
Step 8: Understand Portrait Mode
Portrait mode uses computational photography to create a shallow depth of field effect. This means your subject (you!) stays sharp, while the background becomes beautifully blurred.
Select “Portrait” from the camera modes at the bottom of your screen. Position yourself within the frame, ensuring the “Natural Light” or other lighting effects are chosen. The iPhone will indicate when it’s ready to capture the depth effect.
This mode is excellent for isolating yourself from a busy environment. It gives your selfies a professional, high-quality look.
Step 9: Utilize Burst Mode for Action
Sometimes, a single shot isn’t enough to capture the perfect moment, especially if you’re laughing or moving. Burst mode takes a rapid sequence of photos.
Hold down the volume up button (or the shutter button on screen) for a continuous burst of photos. After taking the burst, you can review them in your Photos app.
Tap “Select…” under the burst series to scroll through all the individual frames. Pick the one where your eyes are open, your smile is just right, or the hair is perfectly placed.
Step 10: Edit Smartly, Not Excessively
Even the best selfies can benefit from a little polish. Your iPhone’s built-in editing tools are powerful and easy to use. The goal is enhancement, not transformation.
Open your selfie in the Photos app and tap “Edit.” Focus on adjustments like brightness, contrast, and saturation. A slight increase in sharpness can also make details pop.
Use the “Vibrance” slider to make colors more lively without oversaturating them. Avoid heavy filters that make your skin look unnatural or drastically alter your features. A subtle touch goes a long way.
Common Mistakes to Avoid
Poor Lighting Choices
Shooting in harsh overhead light or with a strong light source directly behind you creates unflattering shadows and silhouettes. Your features get lost, and your skin can look uneven. Always face your light source for even illumination.
Awkward Angles
Holding your phone too low often results in an unflattering perspective. It can emphasize a double chin or distort your facial features. Elevate your phone slightly above eye level and angle it down for a more flattering look.
Cluttered Backgrounds
A messy room, a crowded street, or random objects in the background detract from your selfie. The viewer’s eye gets pulled away from you. Always take a moment to check and clear your background, or use Portrait mode to blur it out.
Over-editing
While editing can enhance your photo, going overboard with filters, heavy smoothing, or extreme adjustments makes your selfie look artificial. Aim for subtle improvements that highlight your natural beauty, rather than creating an entirely new look.
Troubleshooting
My Selfies Look Blurry
A blurry selfie is often due to a dirty lens or camera shake. First, ensure your camera lens is sparkling clean. Next, try using the volume buttons to trigger the shutter, as this provides a more stable grip than tapping the screen. Also, ensure you have sufficient light; low light can make the camera struggle to focus and increase blur.
My Features Look Unflattering
This usually stems from incorrect lighting or an unflattering angle. Experiment by rotating your face slightly to find your best side. Position yourself directly facing a soft light source, like a window, to minimize harsh shadows. Holding the phone slightly above eye level and tilting it down can also make a big difference in how your face is framed.
My Selfies Are Inconsistent
Inconsistency often comes from not having a repeatable process. Start by consistently cleaning your lens. Then, consciously seek out good lighting and practice your preferred angle. Use the grid lines for consistent composition. By following the steps in this guide each time, you’ll develop a routine that leads to consistently good results.
Key Takeaways
- Always begin by cleaning your iPhone’s camera lens for clear, sharp images.
- Prioritize natural, soft light, ideally by facing a window or light source.
- Hold your iPhone slightly above eye level and angle it down for a flattering perspective.
- Utilize the camera grid to compose your shot using the rule of thirds.
- Experiment with expressions and use the volume buttons or timer to avoid camera shake.
- Pay attention to your background; ensure it’s clean or intentionally blurred.
- Edit your photos subtly to enhance, not drastically alter, your appearance.
Frequently Asked Questions
What is the best time of day to take a selfie?
The “golden hour” – the hour after sunrise and the hour before sunset – offers incredibly soft, warm light that is highly flattering. Otherwise, bright but overcast days provide excellent diffused light throughout the day. Avoid midday sun for outdoor selfies.
Should I use the flash for selfies?
Generally, no. The iPhone’s built-in flash can create harsh shadows, red-eye, and wash out your complexion. It’s usually best to rely on natural light or a dedicated ring light. Only use flash as a last resort in extremely dark conditions, and even then, be prepared for less-than-ideal results.
Are there any good apps for editing selfies?
Yes, many apps can enhance your selfies. While the iPhone’s built-in Photos app is excellent for basic adjustments, popular third-party options include VSCO, Adobe Lightroom Mobile, and Snapseed. These offer more advanced controls for color correction, selective adjustments, and creative filters.
Is it better to use the front or rear camera for selfies?
The rear camera on your iPhone generally has a higher resolution and better image quality than the front-facing camera. However, it’s harder to compose the shot without seeing yourself. For spontaneous, easy selfies, the front camera is convenient. For the absolute best quality, consider using the rear camera with the help of a mirror or a tripod with a remote shutter.
Our Top Recommended Finds
- Portable Ring Light: A small, clip-on ring light can provide excellent, even illumination in any environment, mimicking natural light.
- Mini Tripod with Remote Shutter: This allows you to set up your phone for hands-free shots, perfect for group selfies or when you want to use the higher-quality rear camera.
- Microfiber Lens Cleaning Cloths: Keeping a few dedicated cloths on hand ensures your lens is always spotless for crisp, clear photos.
Your Best Selfie Awaits
Taking a great selfie isn’t about luck; it’s about understanding a few key principles and practicing them. You now have a comprehensive toolkit to elevate your iPhone selfie game. Each tip builds on the last, helping you capture your best self.
Don’t wait to put these steps into action. Grab your iPhone, find some good light, and start experimenting today. You’ll be amazed at the difference.