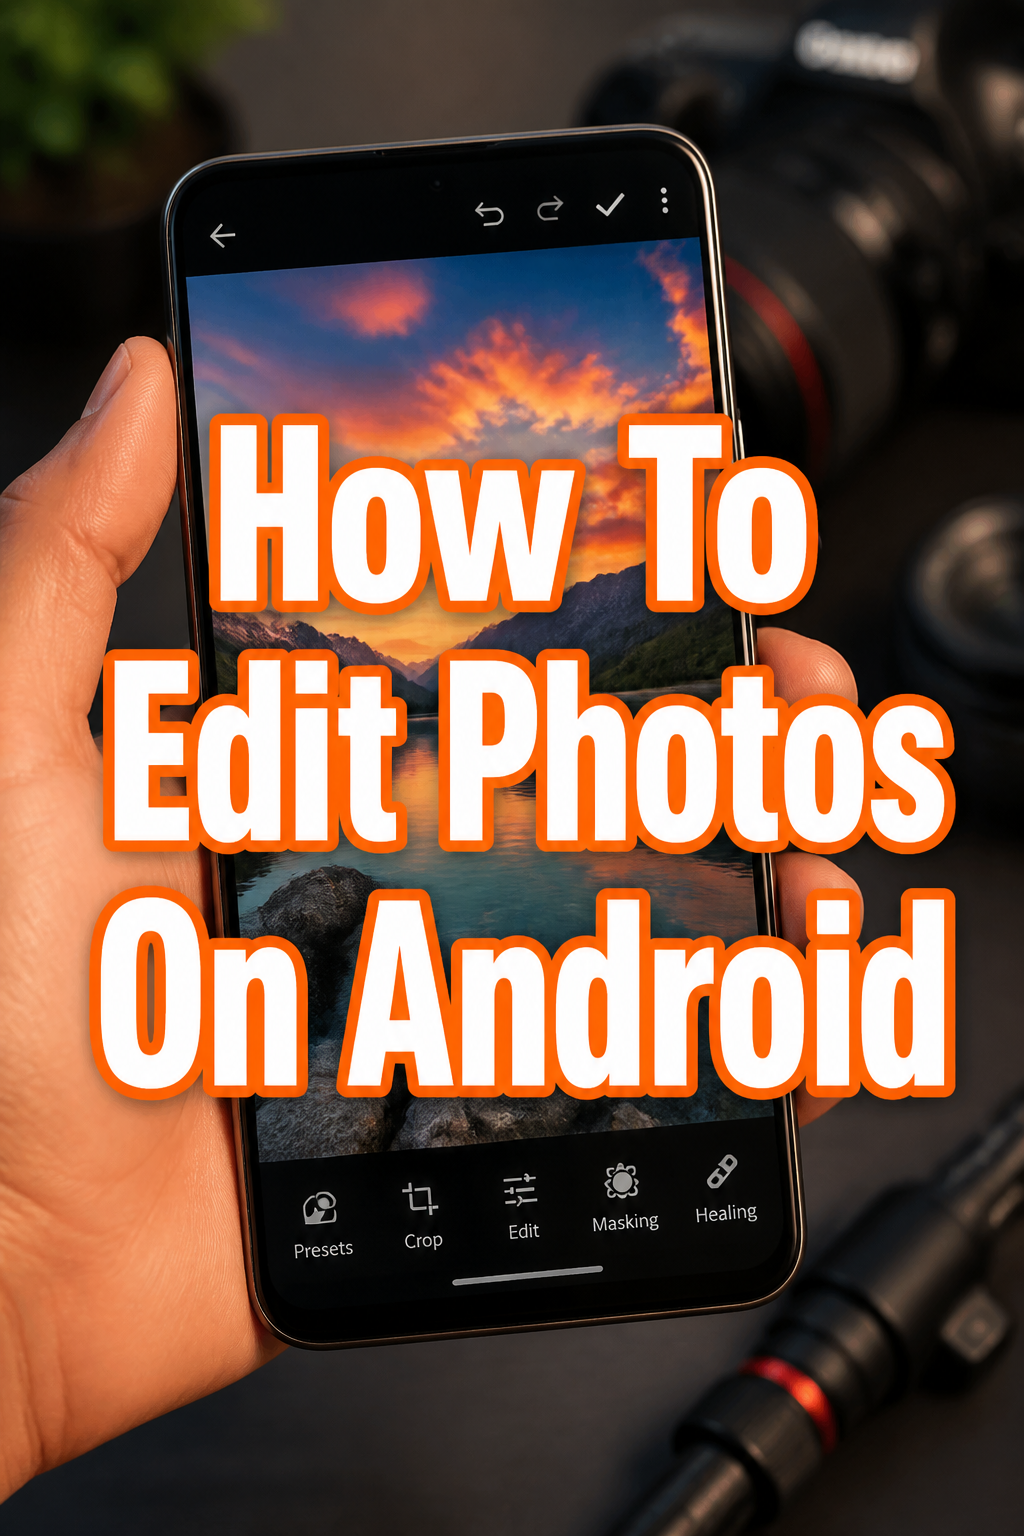
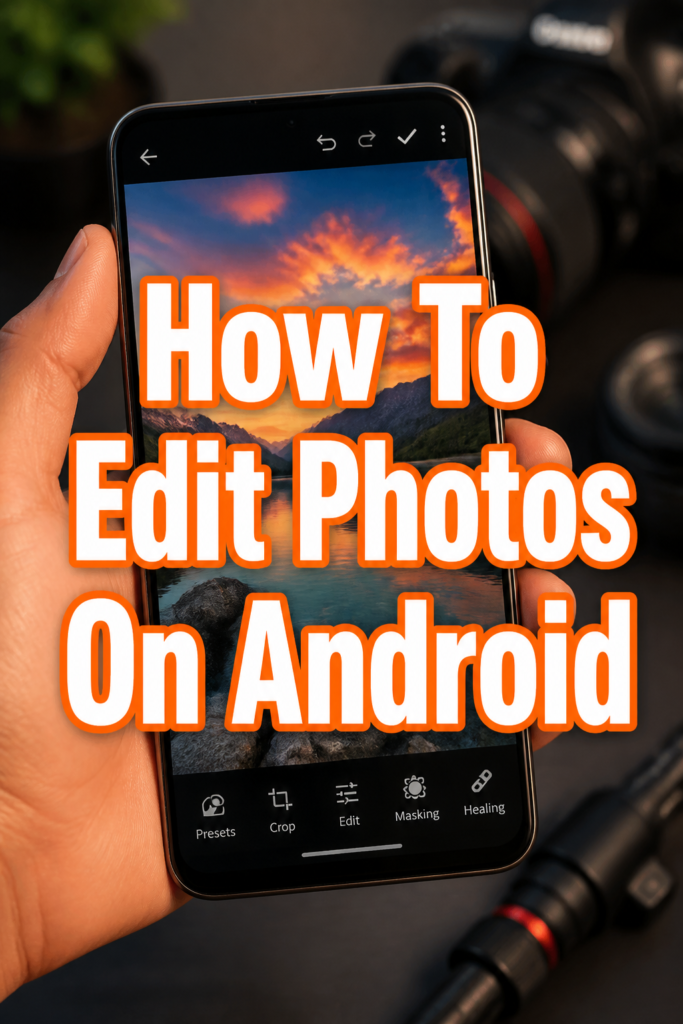
📸 How To Edit Photos On Android
I remember my first Android phone, overflowing with blurry, unedited photos.
It felt overwhelming to make them look good, especially without a computer.
Through countless hours of trial and error, I’ve discovered simple techniques that anyone can master right from their phone.
Quick Overview
This guide will walk you through transforming your ordinary Android photos into stunning visuals.
You’ll learn essential editing techniques, common pitfalls to avoid, and how to troubleshoot basic issues.
- Time needed: 30-60 minutes (initial learning), 5-10 minutes per photo
- Difficulty: Beginner
- What you’ll need: An Android phone, photos to edit, a free photo editing app (e.g., Google Photos, Snapseed)
Step-by-Step Instructions
Step 1: Choose Your Editing App
Your Android phone likely has a built-in photo editor, usually within the Google Photos app.
This is a great starting point for basic adjustments.
For more advanced controls and creative options, consider downloading a dedicated app.
Popular free choices include Snapseed (Google’s own powerful editor) or Adobe Lightroom Mobile (with some free features).
Pro Tip: Start with one app and master its features before jumping to others. This builds a strong foundation.
Step 2: Understand the Basic Interface
No matter which app you choose, the core editing tools are often grouped similarly.
You’ll typically find sections for “Adjust,” “Filters,” and “Crop” or “Tools.”
Tap on an image in your gallery to open it.
Then, look for an “Edit” icon, often represented by a pencil or sliders.
Familiarize yourself with where the main adjustment sliders are located.
Experiment by tapping on different icons to see what they do, but don’t save any changes yet.
Step 3: Crop and Straighten Your Shot
Composition is key, and cropping can dramatically improve your photo’s impact.
Open your photo in the editing app and locate the “Crop” tool.
You can drag the corners to remove distracting elements from the edges of your photo.
Consider using the “Rule of Thirds” grid, often available in the crop tool, to position your subject off-center for a more dynamic look.
If your horizon or subject is tilted, use the “Straighten” or “Rotate” slider.
Gently adjust it until lines in your photo appear level and balanced.
Step 4: Adjust Exposure and Brightness
Exposure controls how light or dark your photo appears.
This is one of the most fundamental adjustments you’ll make.
Find the “Exposure” or “Brightness” slider.
Increase the exposure slightly if your photo is too dark, or decrease it if it’s overexposed and washed out.
Next, adjust “Contrast.”
Increasing contrast makes darks darker and lights lighter, adding punch.
Decreasing it softens the image.
Also, look for “Highlights” and “Shadows.”
Reduce highlights to recover detail in bright areas (like skies).
Boost shadows to brighten up dark areas without affecting the whole image.
Pro Tip: Always aim for a natural look. Small adjustments often make the biggest difference without making the photo look fake.
Step 5: Fine-Tune Colors and Vibrance
Color adjustments can make your photos pop or create a specific mood.
Locate the “Saturation” and “Vibrance” sliders.
Increase “Vibrance” to boost muted colors without overdoing skin tones or already vibrant hues.
Adjust “Saturation” more cautiously, as too much can make colors look artificial and garish.
Next, explore “Warmth” or “Temperature.”
Slide it towards yellow to add a warm, inviting feel.
Slide it towards blue for a cooler, more serene look.
Some apps also offer “Hue” adjustments, allowing you to shift specific colors.
For example, you could make greens more yellow or blue.
Step 6: Sharpen Details and Reduce Noise
Sharpening can bring out fine details, while noise reduction smooths out graininess.
These tools should be used sparingly.
Find the “Sharpen” tool.
Apply a small amount to make edges and textures appear crisper.
Too much sharpening creates an unnatural, halo effect.
Zoom in to 100% to accurately gauge the effect.
If your photo was taken in low light, you might see “noise” – tiny colored speckles.
Use the “Noise Reduction” slider to smooth these out.
Be aware that too much noise reduction can make your photo look soft and lose detail.
Step 7: Apply Filters (Thoughtfully)
Filters are preset combinations of adjustments that can quickly change the look of your photo.
They are a great starting point but should be used with care.
Browse through the available filters in your app.
Many apps allow you to adjust the intensity of a filter after applying it.
Instead of relying solely on filters, try applying a filter at a lower intensity.
Then, make your own fine-tune adjustments to exposure, contrast, and color on top of the filter.
Pro Tip: Create a consistent look across your photos by using similar filter styles or manual adjustments for a cohesive aesthetic.
Step 8: Save and Share Your Masterpiece
Once you’re happy with your edits, it’s time to save your work.
Most apps will offer a “Save” or “Done” button, often in the top right or bottom right corner.
Many apps save a copy of your edited photo, preserving the original.
Always check if your app saves a new file or overwrites the original.
After saving, you can easily share your photo directly from the editing app or your phone’s gallery.
Look for a “Share” icon (often three dots connected by lines).
Common Mistakes to Avoid
Over-Editing
A common pitfall is pushing sliders too far. Over-edited photos often look artificial, with blown-out highlights, crushed shadows, or unnatural colors.
Always aim for subtlety. Small, thoughtful adjustments usually yield the best and most realistic results. Step away from your photo for a few minutes, then come back with fresh eyes to check if it still looks natural.
Ignoring Composition
No amount of editing can fix a fundamentally bad composition. A poorly framed or blurry photo will still look poor, even with perfect colors and exposure.
Before you even start editing, focus on taking good photos. Pay attention to lighting, framing, and stability when you press the shutter button. Editing enhances, it doesn’t create from scratch.
Using Too Many Filters
Filters are convenient, but relying on them exclusively can lead to generic-looking photos that lack personal style. They can also sometimes apply adjustments that don’t suit your specific image.
Use filters as a starting point or inspiration. Apply a filter at a reduced intensity, then make manual adjustments to fine-tune the image to your taste. Learn what each adjustment slider does individually.
Editing on a Small Screen Only
While convenient, editing exclusively on your phone’s small screen can hide subtle flaws or color shifts. What looks good on your phone might appear different on a larger display or another device.
Periodically view your edited photos on a larger screen, like a tablet or computer monitor, if possible. This helps you catch inconsistencies and ensure your edits translate well across different viewing platforms.
Troubleshooting
App Crashing/Lagging
Sometimes, your editing app might freeze, crash, or become very slow, especially with large photo files or older phones. This can be frustrating when you’re in the middle of an edit.
Try closing the app completely and reopening it. If the problem persists, clear the app’s cache in your phone’s settings (Settings > Apps > [Your Editing App] > Storage > Clear Cache). Ensure your phone has enough free storage space and is running the latest software update.
Loss of Original Photo Quality
You might worry about losing the original, unedited version of your photo or notice a drop in quality after saving an edit. This is a common concern for many users.
Most modern editing apps on Android, like Google Photos and Snapseed, save edits non-destructively. This means they create a new version of the photo, leaving your original untouched. Always save edited photos as a new copy to preserve your original file. Check your app’s settings for specific save options.
Colors Look Different on Other Screens
You meticulously edit a photo, but when you share it or view it on a friend’s phone or a computer, the colors look off. This can be due to screen calibration differences.
Phone screens vary in how they display colors. There’s no perfect fix, but try to avoid extreme color adjustments. If your phone has a display calibration setting, ensure it’s set to a neutral profile. Always check how your photos look on a few different devices before finalizing and sharing important images.
Key Takeaways
- Choose a suitable editing app, starting with Google Photos or Snapseed for comprehensive features.
- Master fundamental adjustments like cropping, exposure, and contrast before moving to advanced tools.
- Prioritize natural-looking edits; subtle changes often yield the best results.
- Use filters thoughtfully, adjusting their intensity and combining them with manual tweaks.
- Always preserve your original photos by saving edits as new copies.
- Practice regularly to develop your unique editing style and eye for detail.
Frequently Asked Questions
What’s the best free editing app?
For most Android users, Google Photos offers excellent basic tools and is usually pre-installed. For more advanced features and precision, Snapseed is widely considered the best free option, offering powerful controls in a user-friendly interface.
Should I edit RAW photos on Android?
Many newer Android phones can capture photos in RAW format, which provides more data for editing. While some apps like Snapseed and Lightroom Mobile can edit RAW files, it’s often more demanding on your phone’s processing power. For serious RAW editing, a desktop application might still offer a smoother experience, but Android options are improving rapidly.
How do I back up my edited photos?
The easiest way to back up photos on Android is to use cloud services. Google Photos offers automatic backup of your entire library, including edited versions, to your Google account. Other options include Dropbox, OneDrive, or manually transferring them to a computer or external drive.
Can I undo edits after saving?
It depends on the app. Google Photos and Snapseed typically allow you to revert to the original photo even after saving your edits, as they save edits non-destructively. However, some simpler editors might overwrite the original. Always check your app’s functionality or save a copy to be safe.
Our Top Recommended Finds
- Portable Power Bank: Keeps your phone charged during extensive editing sessions or photo shoots, ensuring you never run out of battery.
- High-Quality Screen Protector: Protects your phone’s display from scratches and smudges, crucial for clear viewing during detailed edits.
- Tripod with Phone Mount: Essential for capturing steady, sharp photos in the first place, giving you better raw material to edit.
Your Photo Editing Journey Starts Now
You now have the tools and knowledge to elevate your Android photos beyond basic snapshots.
Don’t just take pictures; craft visual stories that capture attention.
Open your gallery right now, pick a photo, and apply one new technique you learned today. The more you practice, the more intuitive photo editing will become.