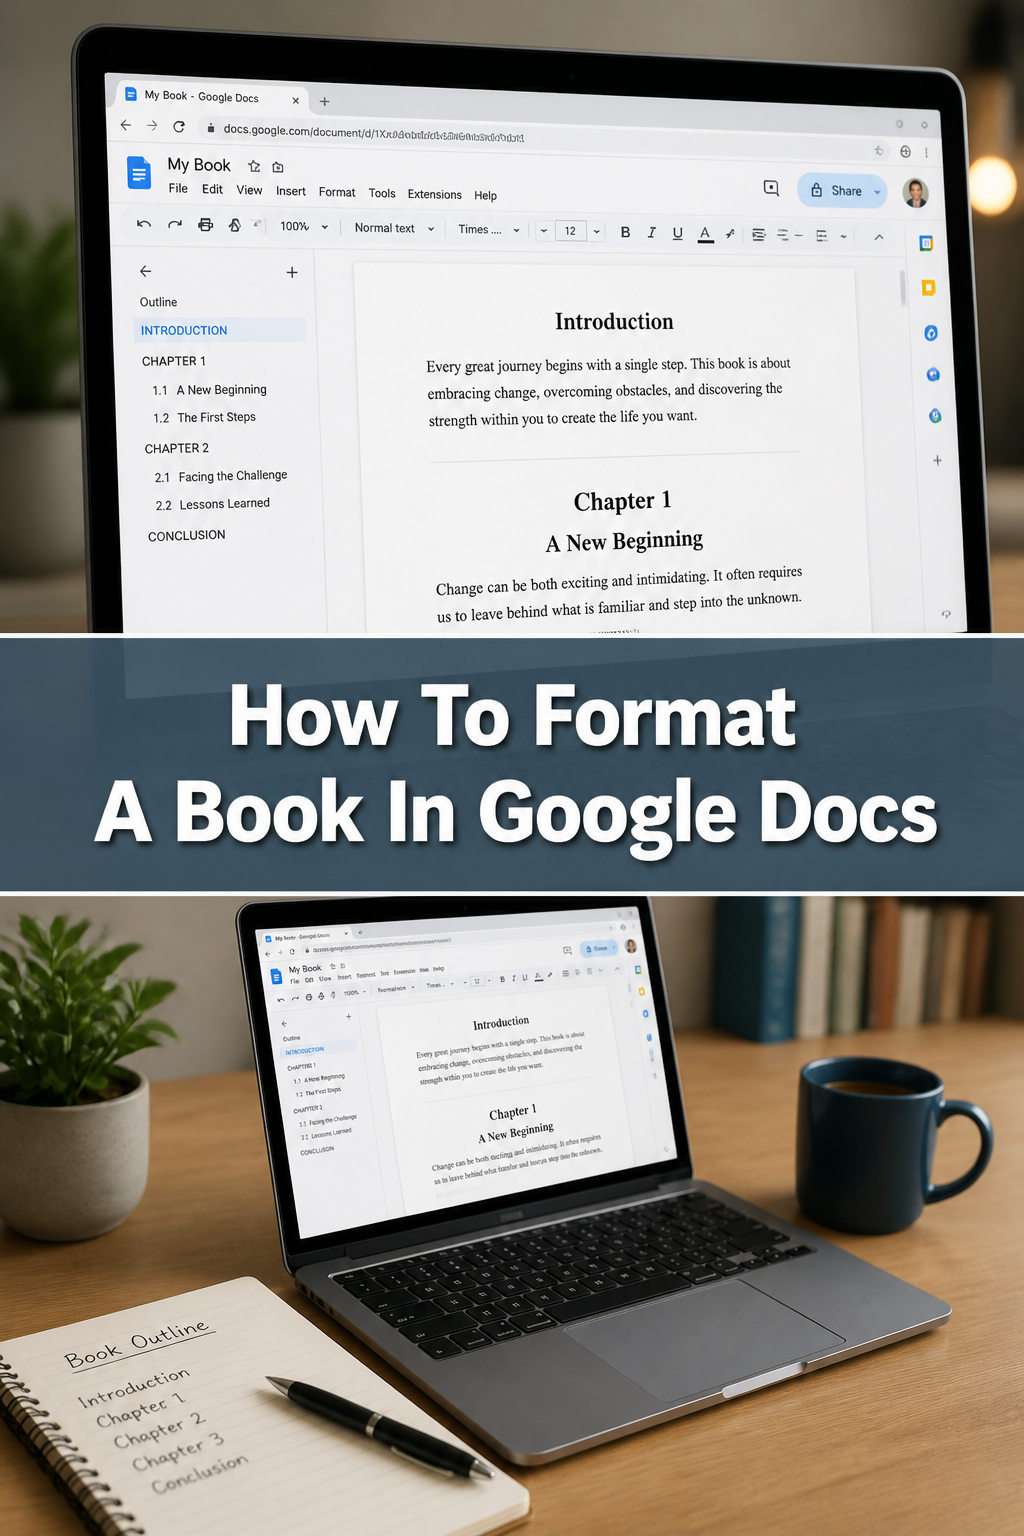
📖 How To Format A Book In Google Docs
Preparing a book for publication can feel overwhelming, especially when it comes to formatting.
I’ve personally guided numerous authors through the process of transforming raw manuscripts into polished, print-ready documents using accessible tools.
This guide shares my practical experience, ensuring your book looks professional without needing complex software.
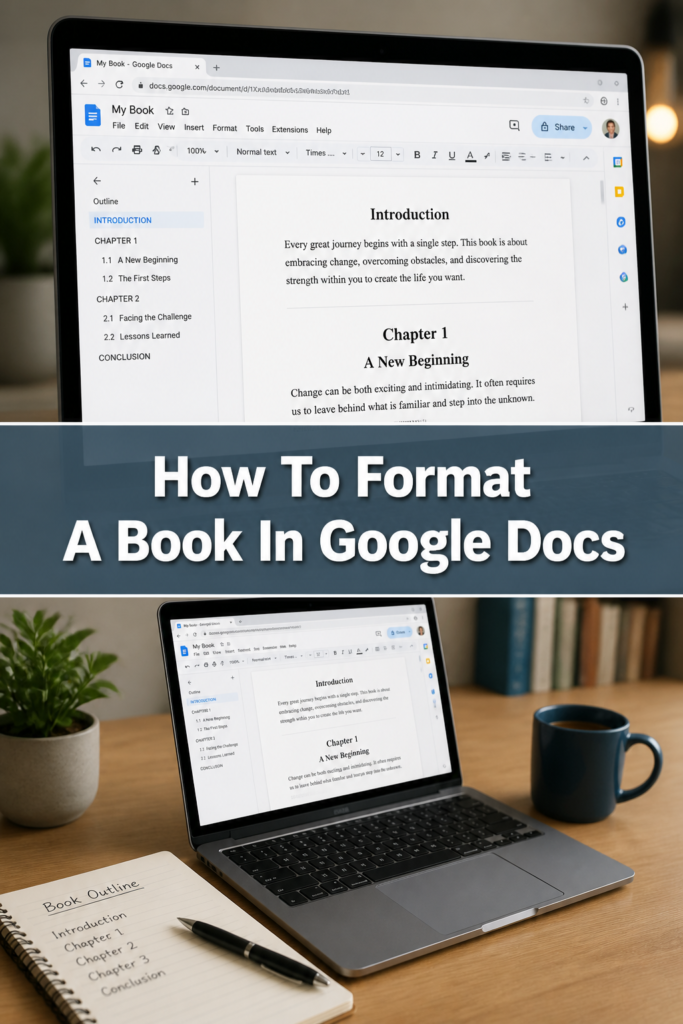
Quick Overview
You’re about to learn how to expertly format your book directly within Google Docs.
This will give your manuscript a clean, professional appearance, ready for printing or digital distribution.
- Time needed: 2-4 hours (depending on book length and prior experience)
- Difficulty: Intermediate
- What you’ll need: A Google account, your completed manuscript, and an internet connection.
Step-by-Step Instructions
Step 1: Set Up Your Document for Success
Before diving into content, establish the foundational settings for your book.
This includes page size and margins, which are crucial for a professional look.
- Open your manuscript in Google Docs.
- Navigate to “File” > “Page setup.”
- Choose your desired paper size. Common book sizes include “Digest” (5.5 x 8.5 inches) or “Trade” (6 x 9 inches). If your size isn’t listed, select “Custom” and input the dimensions.
- Adjust the margins. For print, aim for margins of at least 0.8 inches on all sides. Consider a “Gutter” margin if your book will be bound, which adds extra space on the inside edge.
Pro Tip: Research common book dimensions for your genre. A standard novel often uses 6×9 inches, while a non-fiction book might be 7×10 inches. Consistency is key here.
Step 2: Master Styles for Consistent Formatting
Styles are your best friend for maintaining a uniform look throughout your book.
They allow you to define how headings, body text, and other elements appear.
- Locate the “Styles” dropdown menu in the toolbar (it usually says “Normal text”).
- Modify “Normal text” for your main body paragraphs. Choose a readable font (e.g., Garamond, Times New Roman, Georgia) in a comfortable size (11 or 12pt). Adjust line spacing to 1.5 or double for better readability.
- Define your Chapter Headings using “Heading 1.” Select a clear, prominent font and size. Center alignment often works well for chapter titles.
- Apply “Heading 2” for subheadings within chapters, if needed. This helps break up text and improve flow.
- Use the “Update ‘Normal text’ to match” or “Update ‘Heading 1’ to match” option after making changes to ensure consistency across your document.
Apply these styles throughout your manuscript. Simply select the text and choose the appropriate style from the dropdown.
Step 3: Implement Page and Section Breaks
Page and section breaks are essential for controlling the flow of your book.
They ensure that chapters start on new pages and allow for different formatting in various sections.
- Place your cursor at the end of a chapter.
- Go to “Insert” > “Break” > “Section break (next page).” This ensures each new chapter begins on a fresh page.
- Use “Page break” (Insert > Break > Page break) for simple page advancement, like moving to a new section within a chapter without altering formatting.
Pro Tip: Section breaks are powerful. They let you restart page numbering, change headers/footers, or even adjust margins for specific parts of your book, like front matter or an appendix.
Step 4: Add Professional Headers and Footers
Headers and footers are where you’ll place page numbers, your book title, and author name.
They provide critical navigational cues for your readers.
- Double-click in the top or bottom margin of any page to open the header/footer area.
- Check “Different first page” if your first chapter page shouldn’t have a header/footer.
- Select “Options” > “Page numbers” to insert page numbers. Choose where they appear (header or footer) and their starting point.
- Type your book title or author name into the header. Often, the left page header has the author’s name, and the right page header has the book title.
- Ensure “Link to previous” is unchecked for sections where you want different headers or footers (e.g., front matter versus main chapters).
This allows for distinct numbering and text in different sections of your book.
Step 5: Create an Automatic Table of Contents
A Table of Contents (TOC) helps readers navigate your book quickly.
Google Docs can generate this automatically if you’ve used Heading Styles correctly.
- Place your cursor where you want the TOC to appear (typically after the title page and copyright page).
- Go to “Insert” > “Table of contents.”
- Choose the “With page numbers” option.
The TOC will automatically populate with your Heading 1, Heading 2, and Heading 3 entries, along with their respective page numbers.
If you make changes to your headings or page numbers, simply click on the TOC and select the “Update table of contents” icon.
Step 6: Insert and Format Images
If your book includes images, proper placement and sizing are crucial.
Ensure they enhance your text without disrupting the flow.
- Position your cursor where you want to insert an image.
- Go to “Insert” > “Image” and choose your source (e.g., “Upload from computer”).
- Click on the inserted image. Options will appear below it.
- Select “Wrap text” or “Break text” depending on how you want the text to flow around the image. “Break text” is often best for full-width images in books.
- Resize the image by dragging its corners. Ensure it fits within your page margins.
Consider adding captions below your images. You can use a specific style for captions to maintain consistency.
Step 7: Review and Refine Your Formatting
Once you’ve applied all the formatting, a thorough review is critical.
This step catches any inconsistencies or errors before you finalize your book.
- Scroll through your entire document, page by page.
- Check for consistent spacing, font sizes, and heading styles.
- Verify that page numbers are correct and continuous (or restart as intended).
- Look for “widows” (a single line of a paragraph at the top of a new page) and “orphans” (a single line of a paragraph at the bottom of a page). Adjust text or breaks to fix these.
- Read your book in “Print Layout” view (View > Print layout) to see how it will appear on paper.
Consider printing a few pages or a small section to catch visual issues not apparent on screen.
Step 8: Export Your Formatted Book
With your formatting perfected, it’s time to export your book into a shareable format.
PDF is the standard for print-ready documents.
- Go to “File” > “Download” > “PDF Document (.pdf).”
This creates a static version of your book that preserves all your careful formatting.
For e-books, while Google Docs isn’t ideal for EPUB creation, a well-formatted PDF can sometimes be converted using external tools.
Common Mistakes to Avoid
Ignoring Google Docs Styles
Many authors manually format each heading or paragraph, leading to inconsistencies and a frustrating update process.
When you ignore styles, changing a font or size means going through your entire document manually.
Instead, use the “Styles” menu. Define your “Normal text,” “Heading 1,” etc., once, then apply them. Any future changes update globally.
Manual Page Numbering
Trying to type page numbers into the footer of each page is a common, time-consuming error.
This method breaks as soon as you add or remove text, requiring you to re-do everything.
Always use the automatic page numbering feature found under “Insert” > “Page numbers” within the header/footer options. Link to previous sections carefully.
Incorrect Use of Section Breaks
Using simple page breaks instead of section breaks for new chapters limits your formatting options.
Page breaks just push content to the next page; they don’t allow for different headers, footers, or page numbering schemes.
Always use “Insert” > “Break” > “Section break (next page)” at the start of new chapters or any part of your book that requires unique formatting.
Overlooking Margins for Print
Setting margins too small can lead to text being cut off during printing or making the book uncomfortable to read.
A digital document might look fine with small margins, but a physical book needs space for binding and thumb room.
Always aim for at least 0.8 to 1 inch margins for print. If your book is thick, add a gutter margin to account for the binding.
Troubleshooting
Table of Contents Not Updating
You’ve made changes to your chapter titles or added new sections, but your TOC doesn’t reflect them.
This usually happens because the TOC isn’t automatically refreshed with every edit.
Click anywhere on the Table of Contents, and a small circular arrow icon will appear. Click this “Update table of contents” icon to refresh it.
Page Numbers Appearing Incorrectly
Page numbers might be starting from the wrong number, or they might not be continuous across sections.
This often relates to how section breaks are configured or if “Link to previous” is improperly set.
Double-click into the header/footer of the affected section. Click on the page number, then “Options” > “Page numbers.” Ensure “Continue from previous section” is selected if you want continuous numbering, or “Start at” if you need to reset it. Also, check the “Link to previous” checkbox.
Formatting Shifts Unexpectedly
You’ve applied a style, but suddenly other parts of your document change, or text jumps around.
This can occur if you’ve accidentally updated a style to match text that wasn’t intended to be the standard, or if hidden formatting is at play.
Use “Ctrl+Z” (Cmd+Z on Mac) to undo recent changes. If the issue persists, select the problematic text, apply the correct style, and then ensure you’re using “Apply ‘Style Name'” rather than “Update ‘Style Name’ to match.”
Key Takeaways
- Utilize Google Docs’ built-in Styles feature for consistent and efficient formatting across your entire manuscript.
- Employ Section Breaks strategically to control page numbering, headers, and footers for different parts of your book.
- Always use automatic page numbering to avoid manual errors and simplify updates as your content evolves.
- Set appropriate page sizes and margins from the outset, especially if you intend to print your book.
- Regularly review your document page by page to catch any formatting inconsistencies or layout issues.
- Export your final, formatted document as a PDF to preserve your layout for printing or sharing.
Frequently Asked Questions
Can I format for an e-book in Google Docs?
While Google Docs is excellent for print-ready PDFs, it’s not the ideal tool for creating EPUB files, which are standard for most e-readers. For e-books, you generally want a reflowable format. You can export to a .docx and use dedicated e-book conversion software, but direct EPUB creation in Google Docs is not a feature.
How do I add footnotes or endnotes?
Google Docs supports footnotes. Place your cursor where you want the reference mark, then go to “Insert” > “Footnote.” The footnote will appear at the bottom of the current page. For endnotes, you would typically convert all footnotes to regular text and place them in a dedicated section at the end of your book.
What page size should I use for my book?
Common book sizes vary by genre. For fiction, 5.5 x 8.5 inches (Digest) or 6 x 9 inches (Trade) are popular. For non-fiction or textbooks, larger sizes like 7 x 10 inches might be appropriate. Research what’s standard for your specific type of book or publisher requirements.
Can I collaborate on formatting with other authors?
Yes, Google Docs excels at collaboration. You can share your document with others and grant them editing access. Everyone can work on the formatting simultaneously, seeing changes in real-time. This is a significant advantage of using Google Docs for book preparation.
Our Top Recommended Finds
- Ergonomic Keyboard: Essential for long hours of writing and editing, reducing strain and improving comfort.
- High-Resolution Monitor: Provides clearer text and more screen real estate, making it easier to spot formatting details and review your layout.
- Premium Grammar Checker Subscription: Tools like Grammarly Premium can help catch spelling, grammar, and even stylistic errors that might detract from your polished manuscript.
Your Book’s Journey to Print Perfection Starts Now
You now have a clear roadmap to format your book professionally using Google Docs.
These steps empower you to take control of your manuscript’s presentation, ensuring it looks exactly as you envision.
Don’t let formatting be a barrier to sharing your story. Start applying these techniques today and bring your book to life!